Description
NOT SOLD WITH SPORES. YOU NEED TO BUY SPORES TO ADD TO THIS KIT.
For your Dutch Style Mycobox pleasure!
Re-usable, multi use. Dutch Style grow kit XL MycoBox 1200ml capacity. Fully sterilized and ready to use!
For the NEW auto fruiting methods. Please click here to find the Simplici-kits instructions.
The Instructions below are for manual fruiting only.
Never Heat the Spore Syringe needle, the needles we send come sterile.
Bulk prices as low as £18.74 per kit!
This is another product that I have wanted to produce for a fair while now.
Way back in the day, these Dutch Style grow kits were my first introduction to the study of actual Mycology so I owe these little tubs a thing or two!
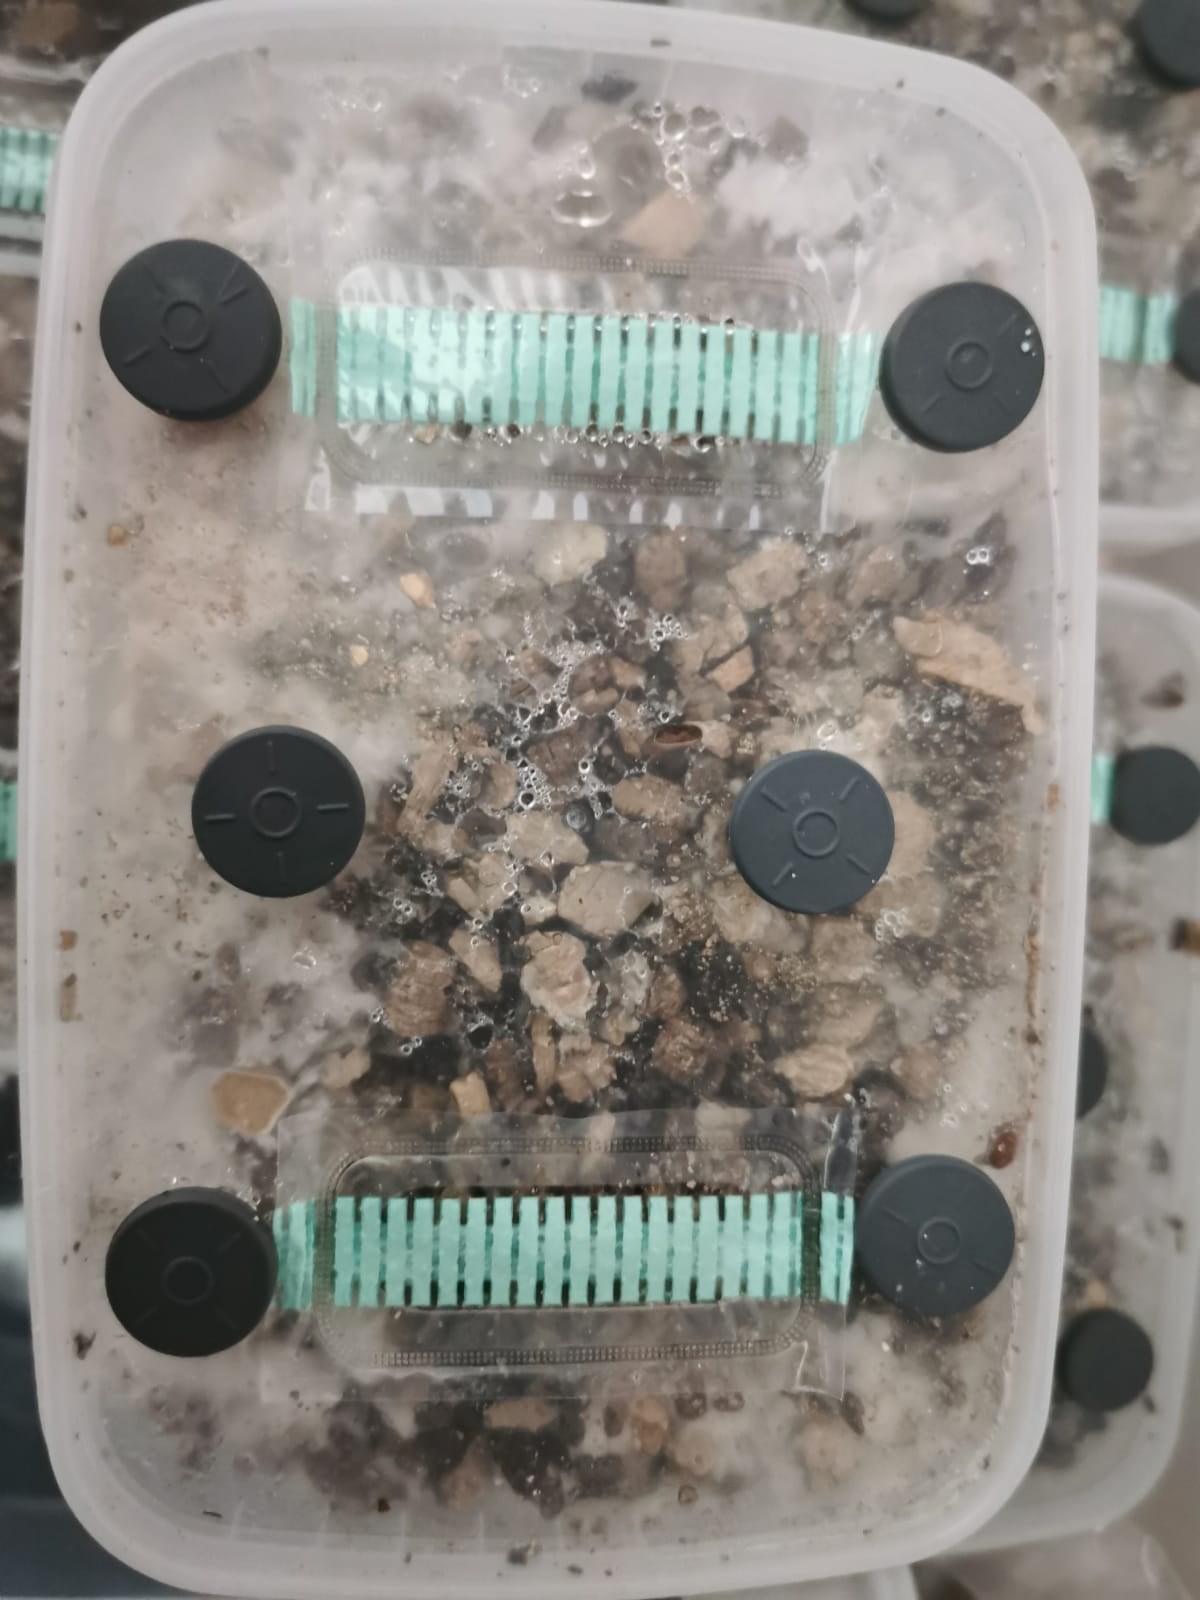
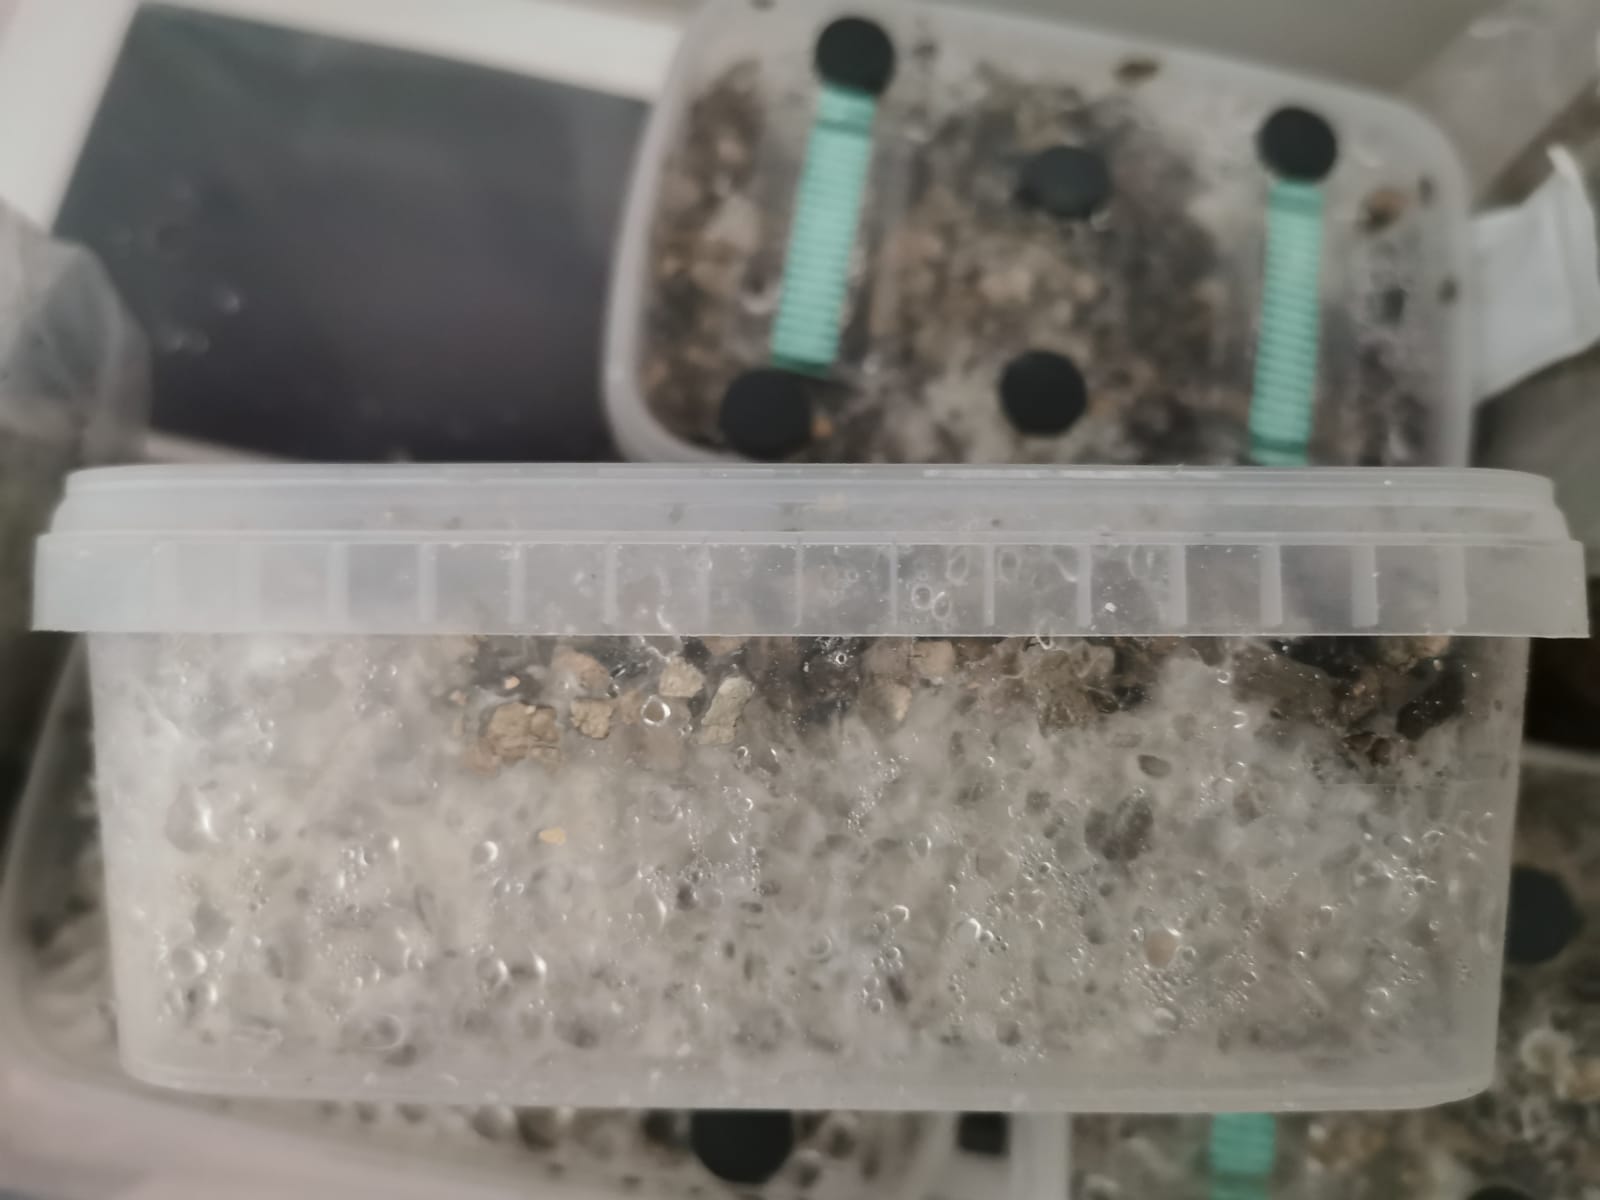
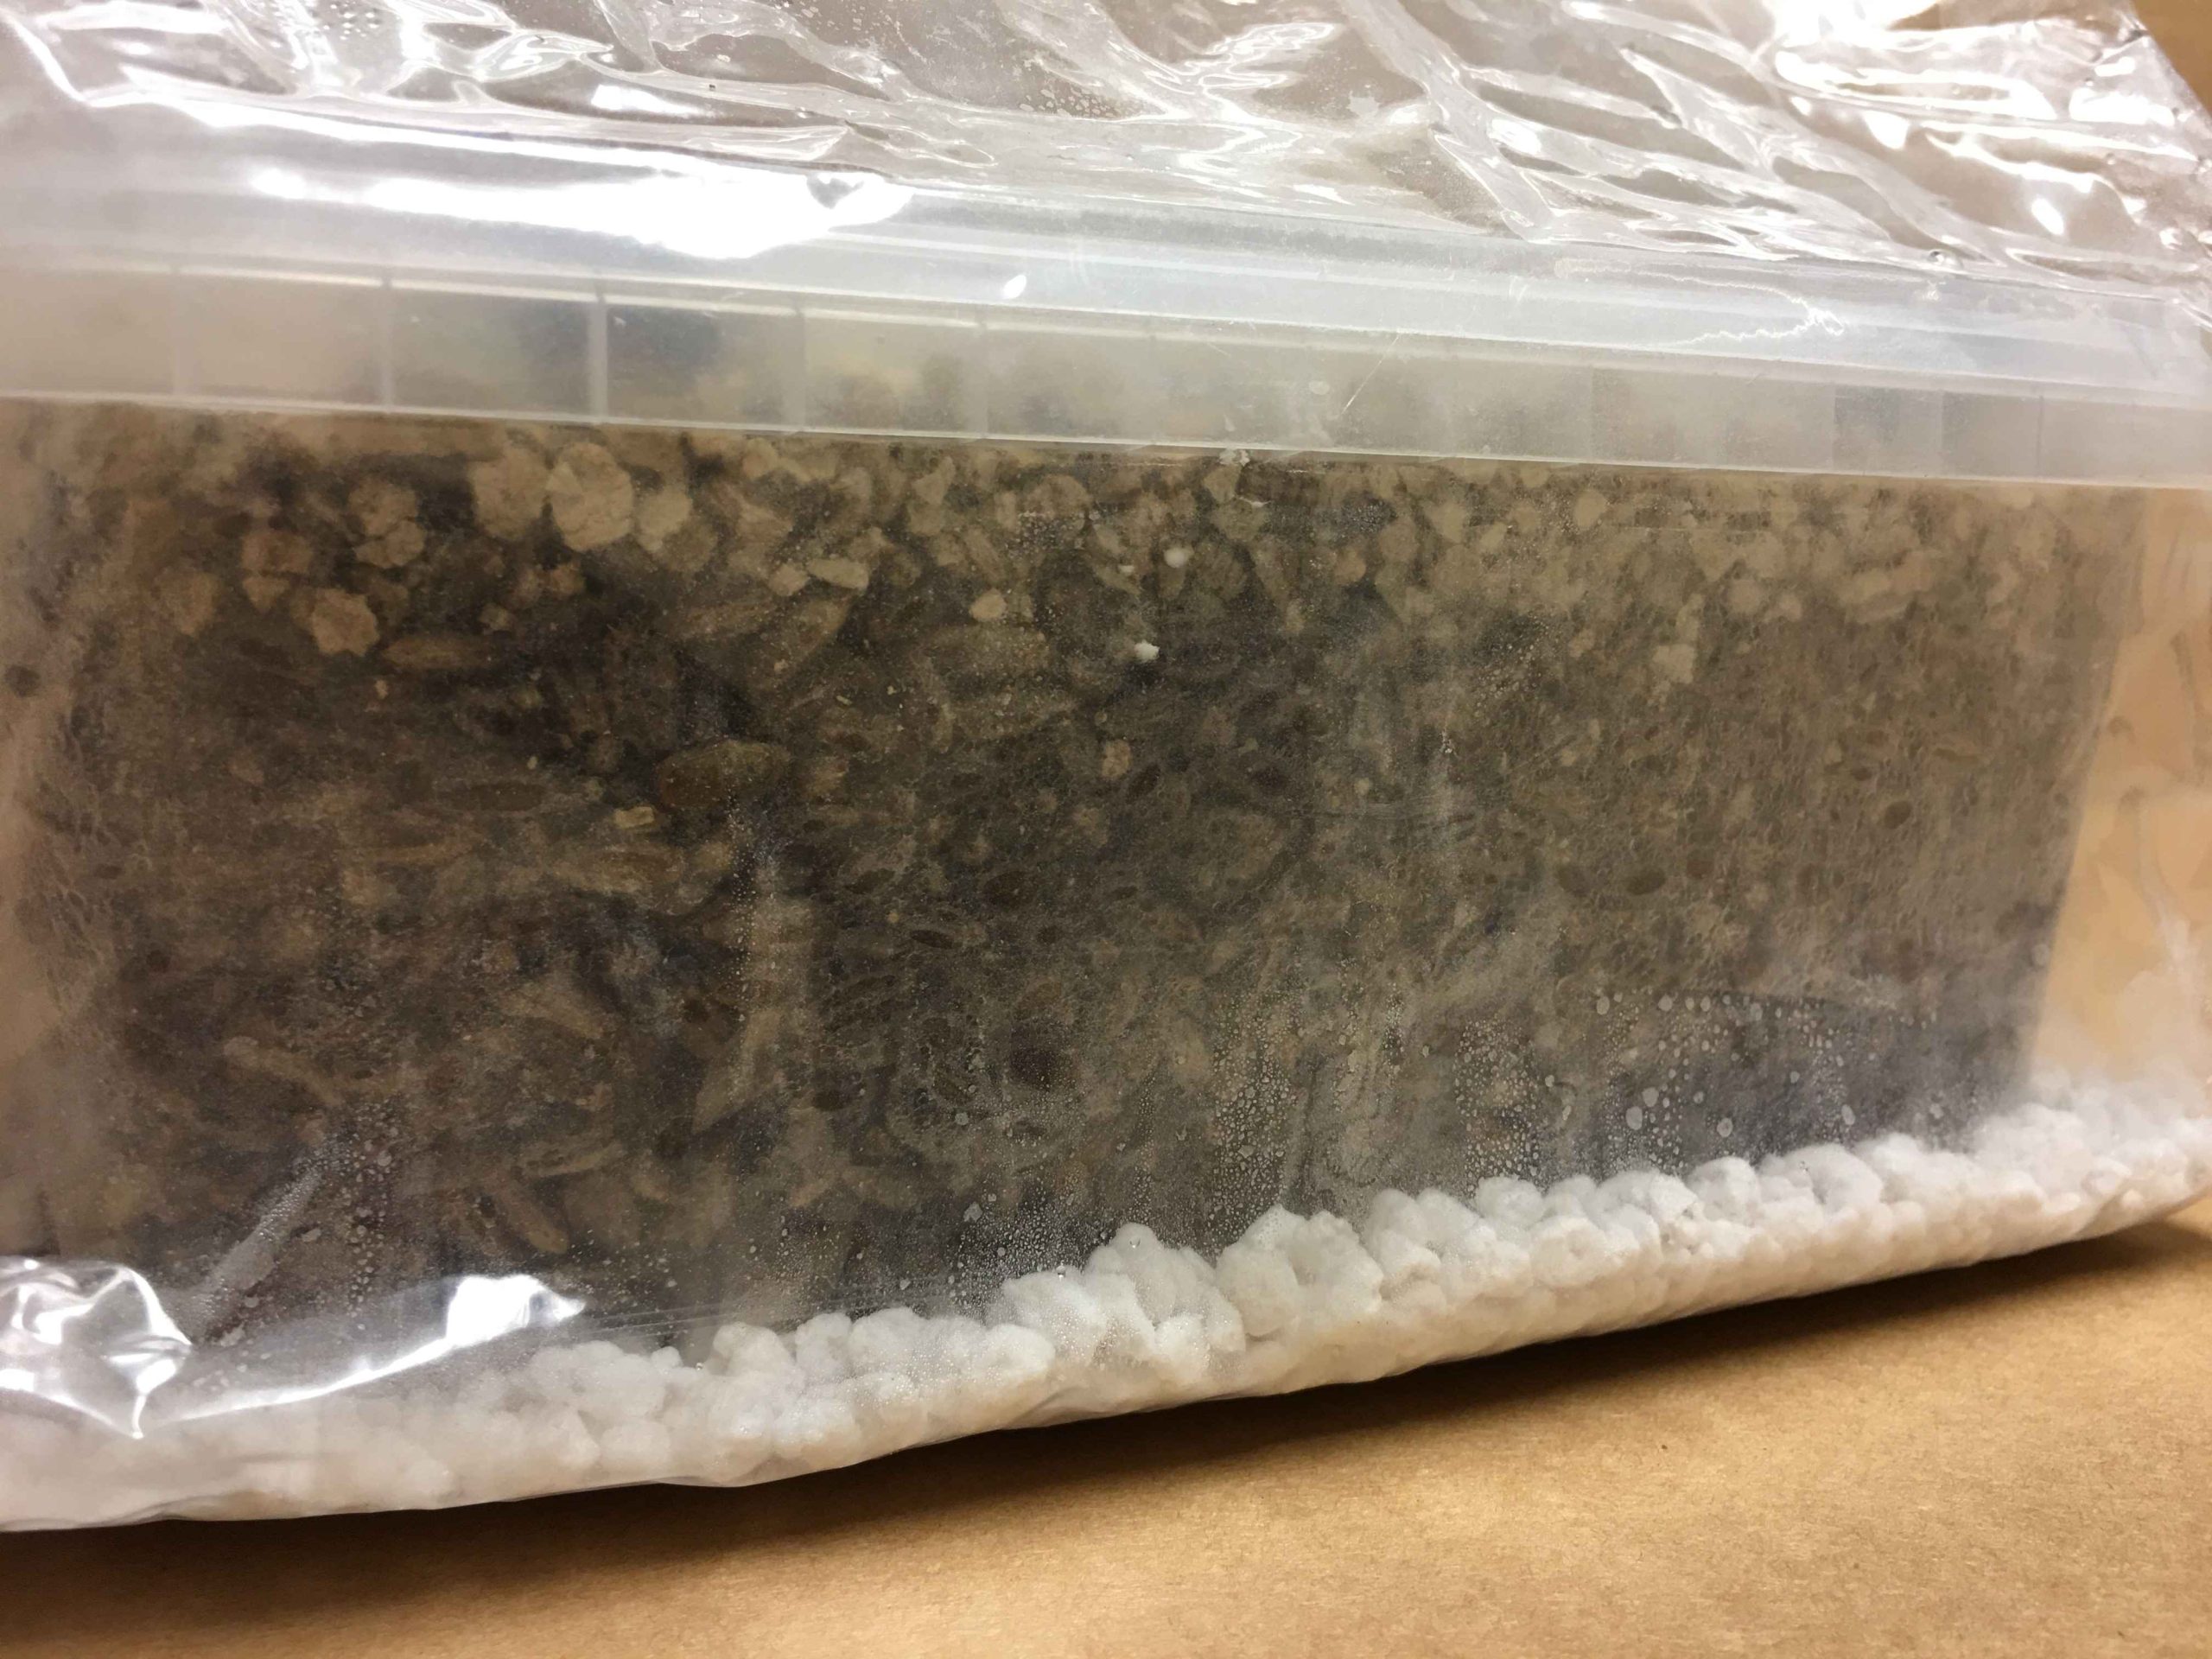
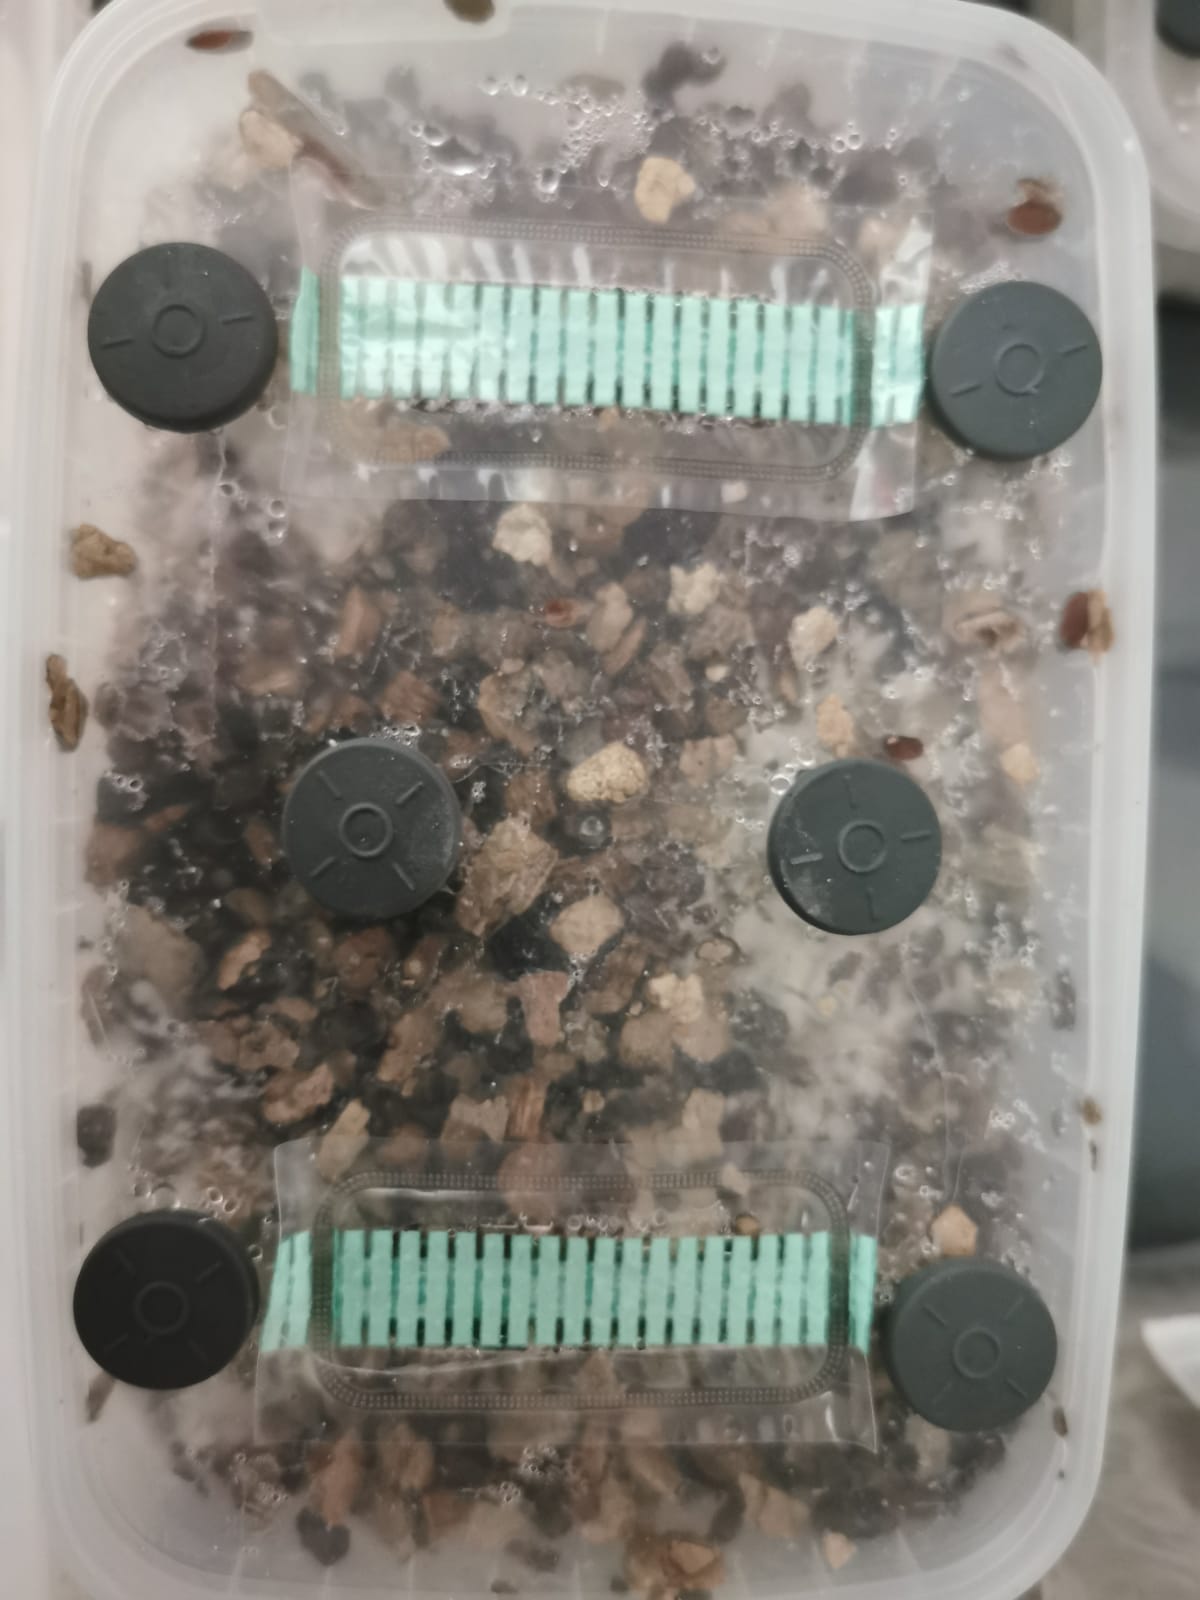
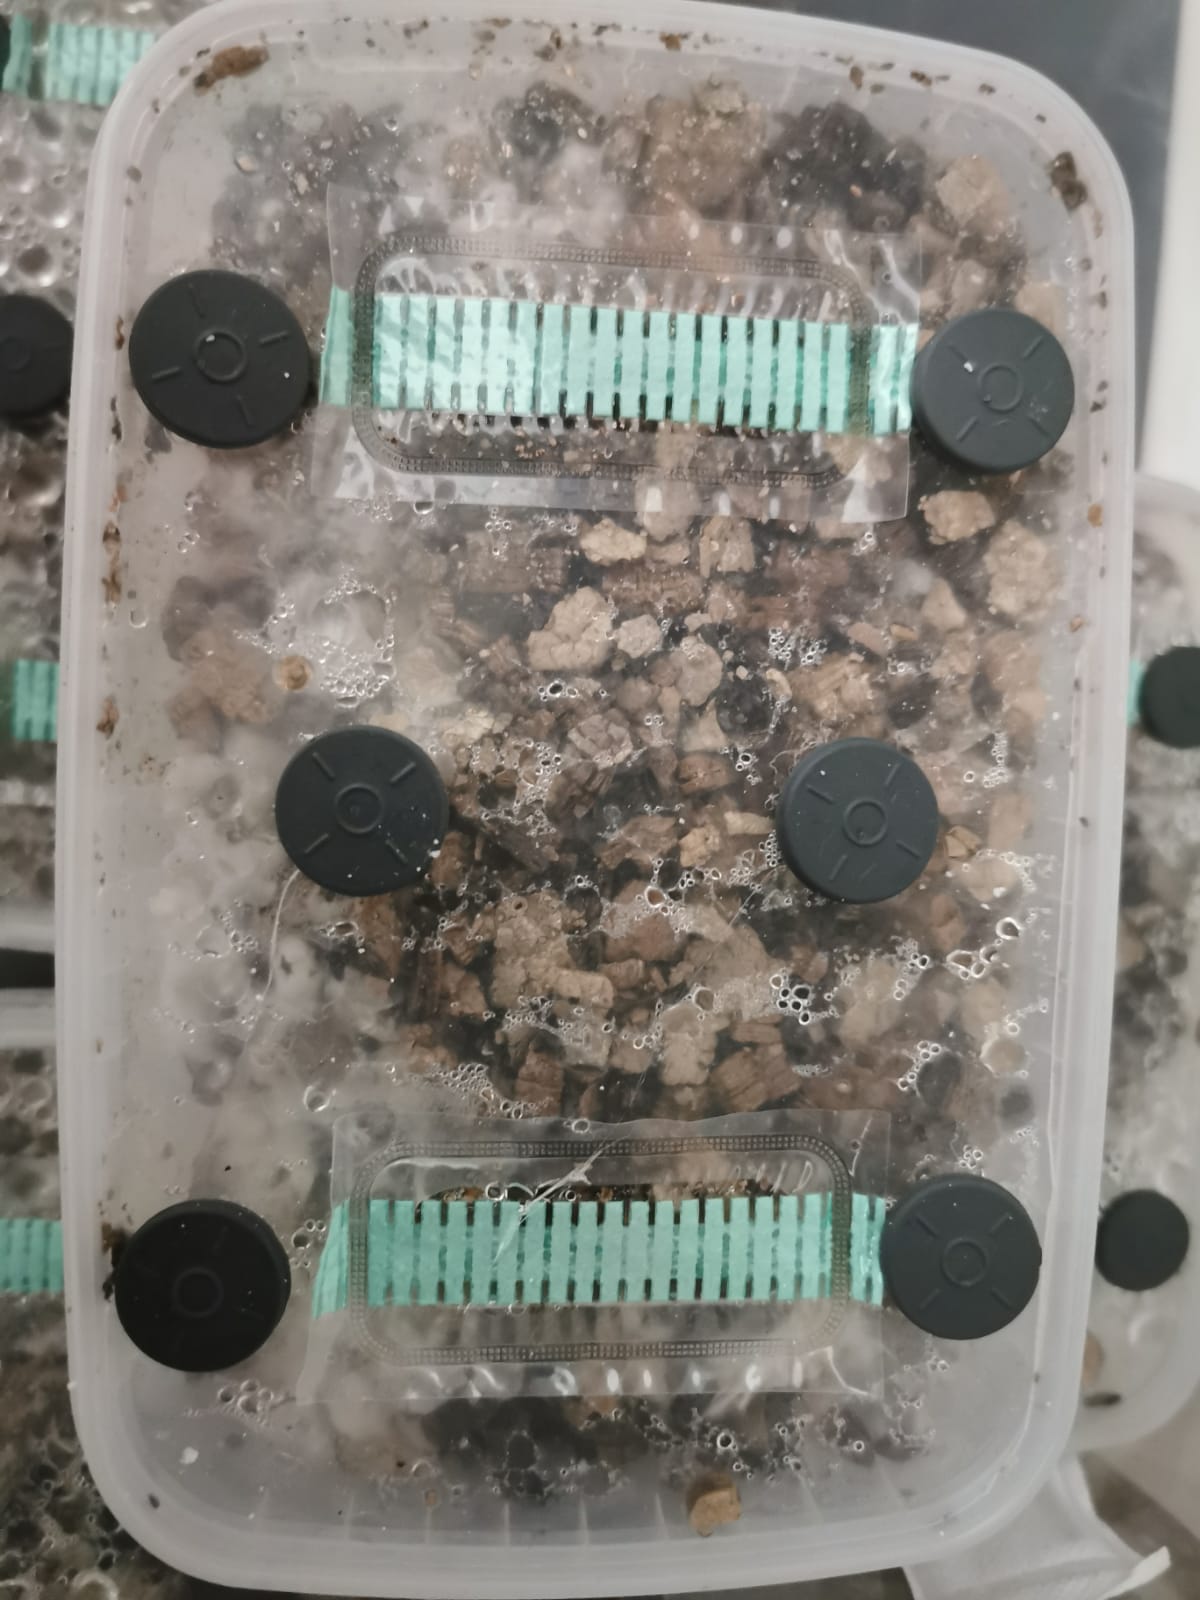
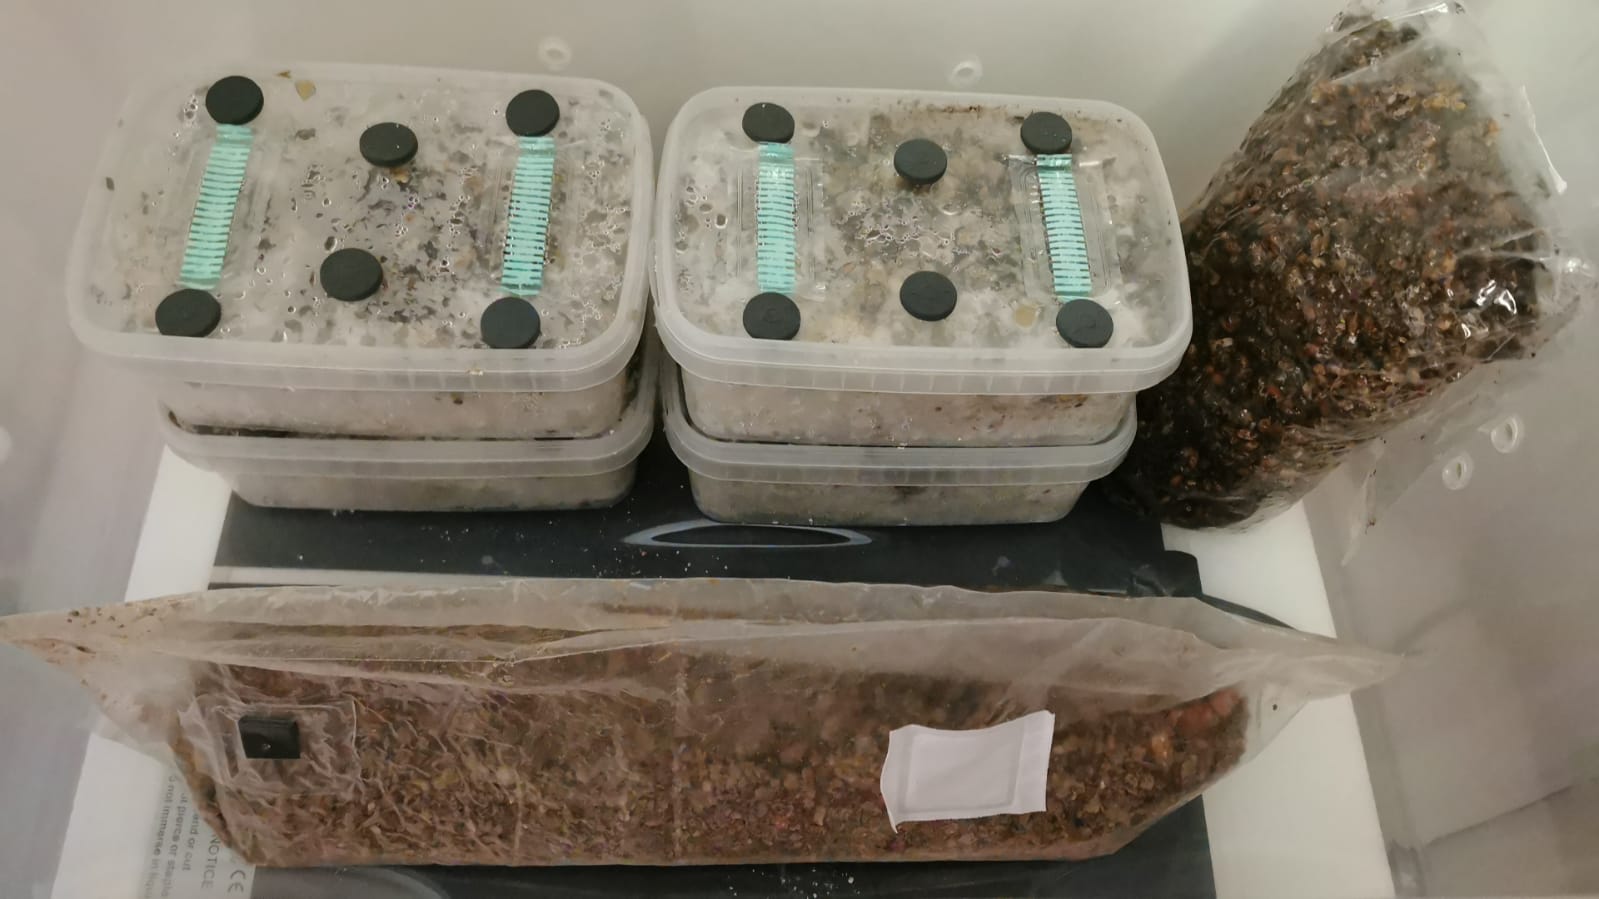
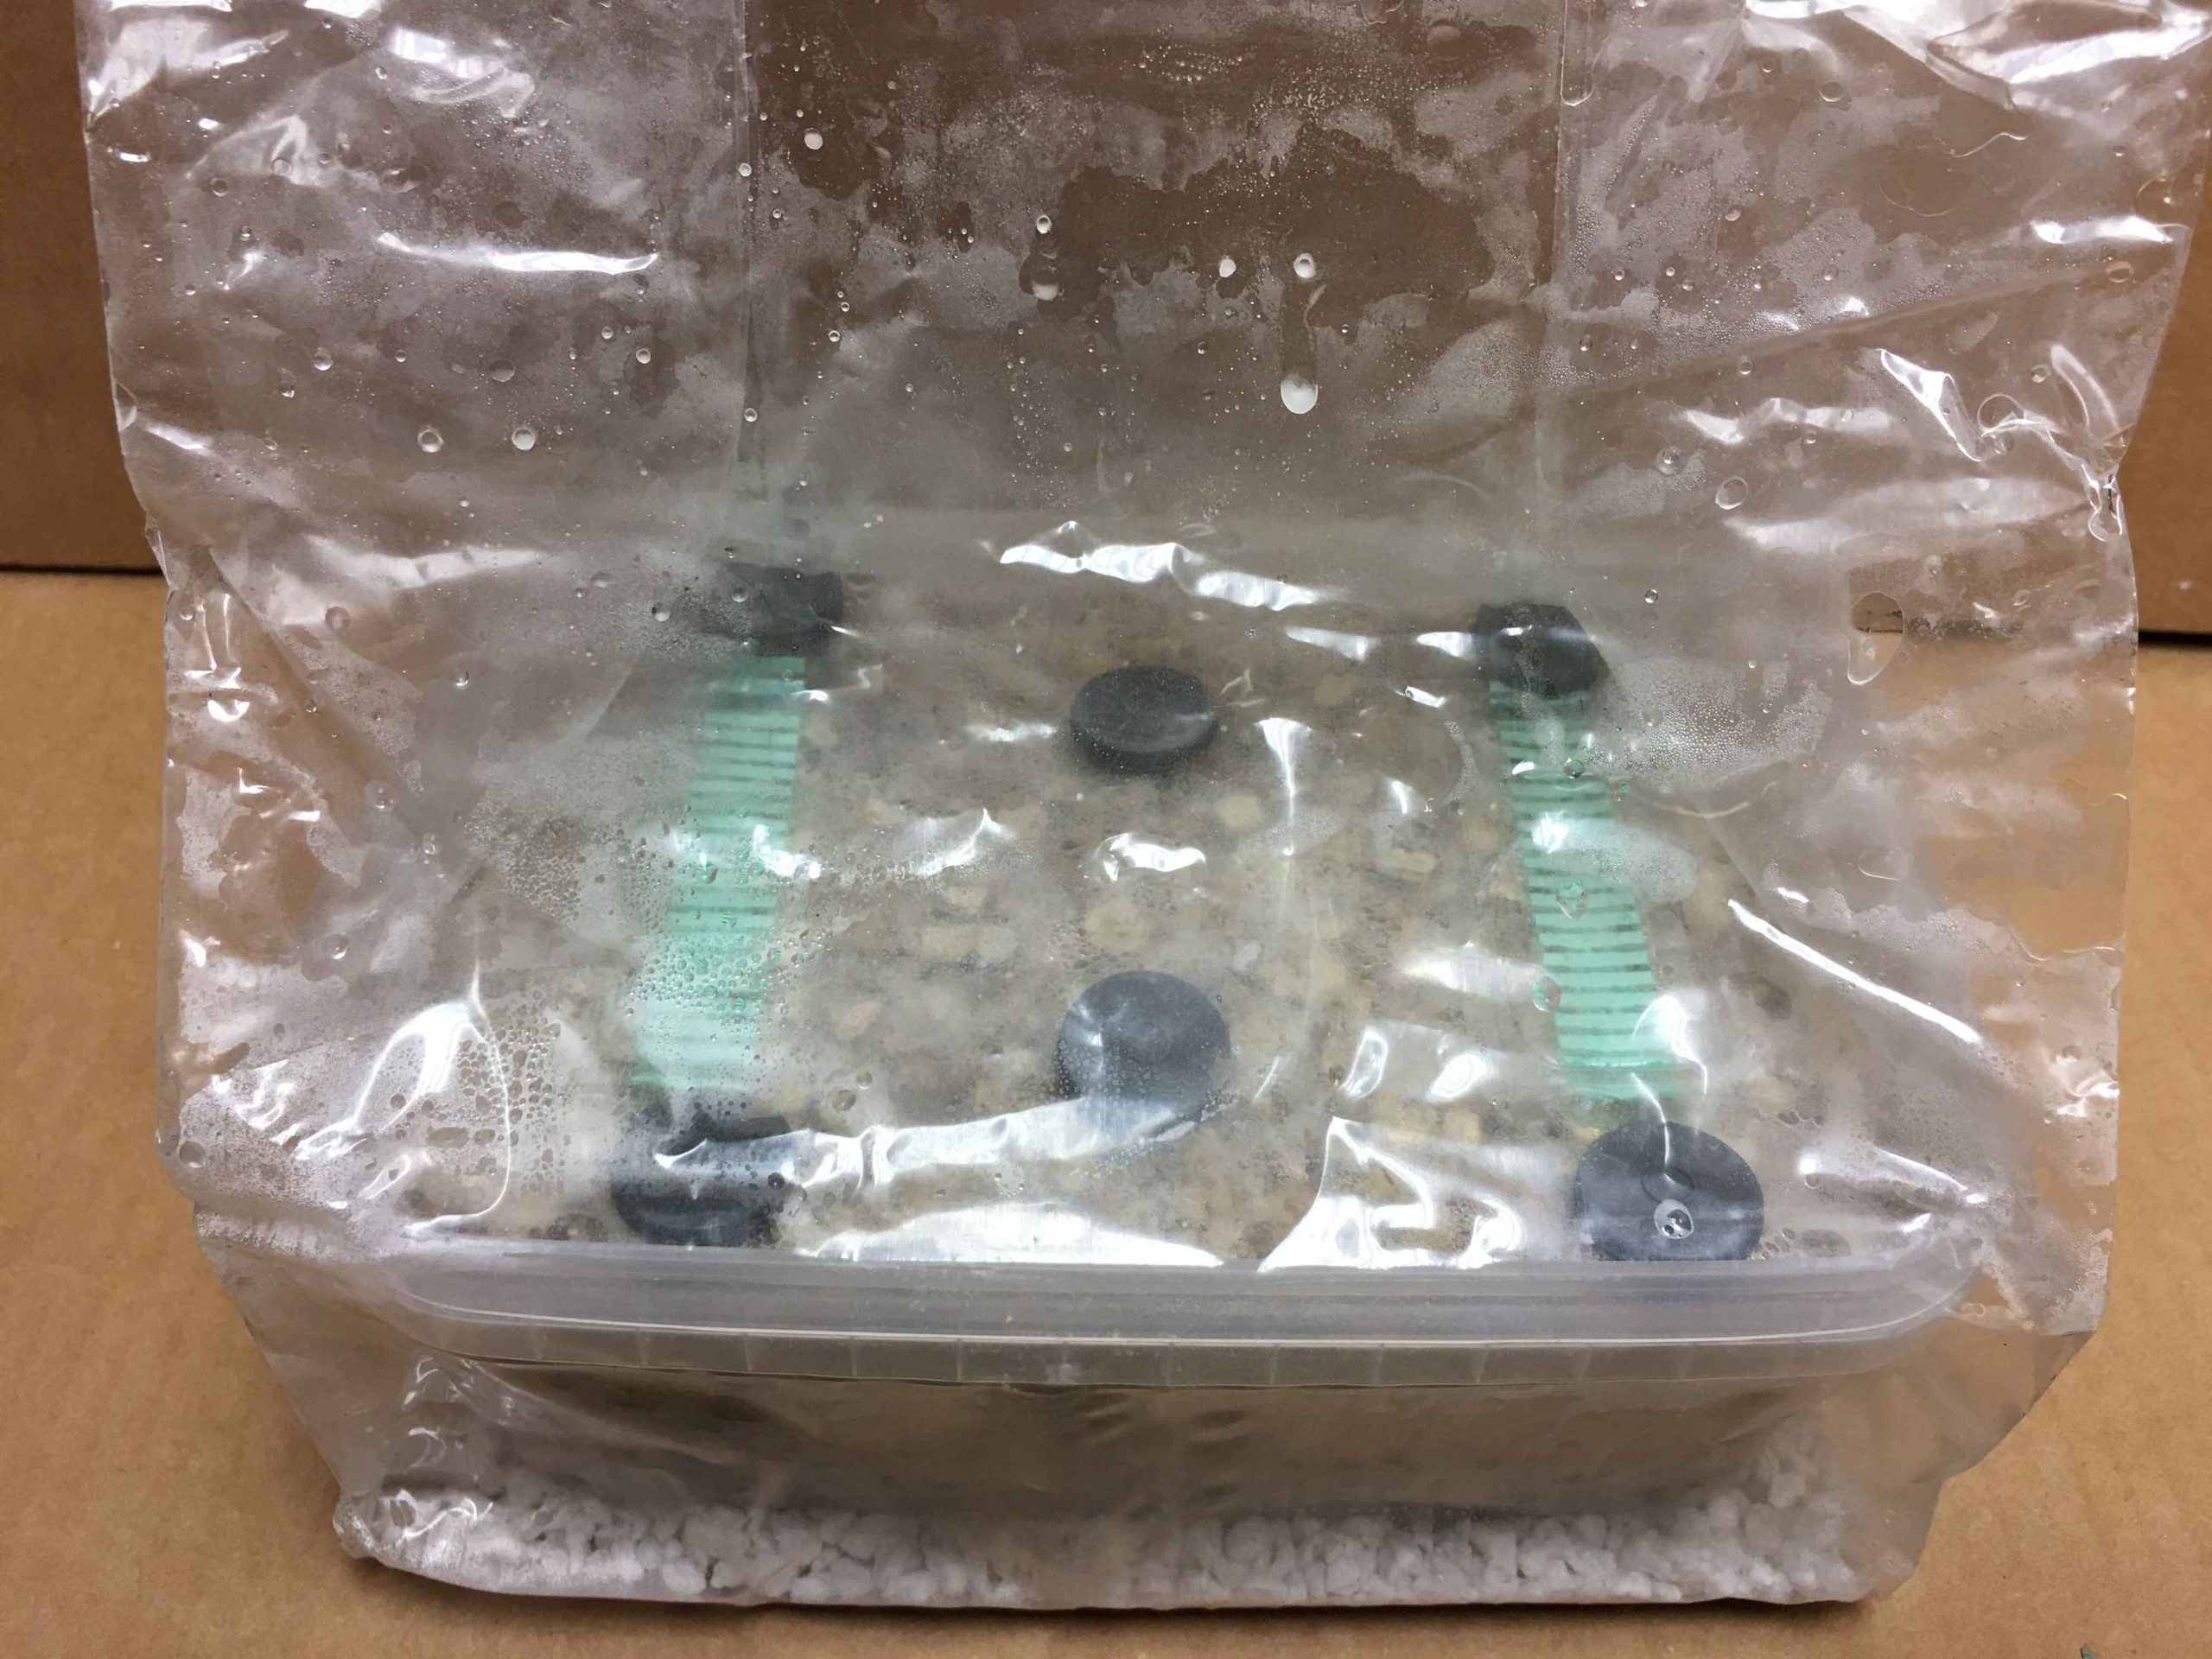
A self-contained wonder box. Perfectly set up to allow the new or experienced customer to cleanly inject their chosen spore or liquid culture via the 6 self-healing injection ports in the lid. We have offset the injection ports so as to give a more efficient spread of growth points. Once germinated, the growing mycelium will then be able to breathe through the 2x Micron Filter strips located on the lid. The filter strips will keep out any contamination but just to make sure, these kits have an anti-contamination vermiculite layer between the lid and the grain substrate. This layer also helps with fruiting so please do not pick it off.
This Product is sold as an all in one KIT!
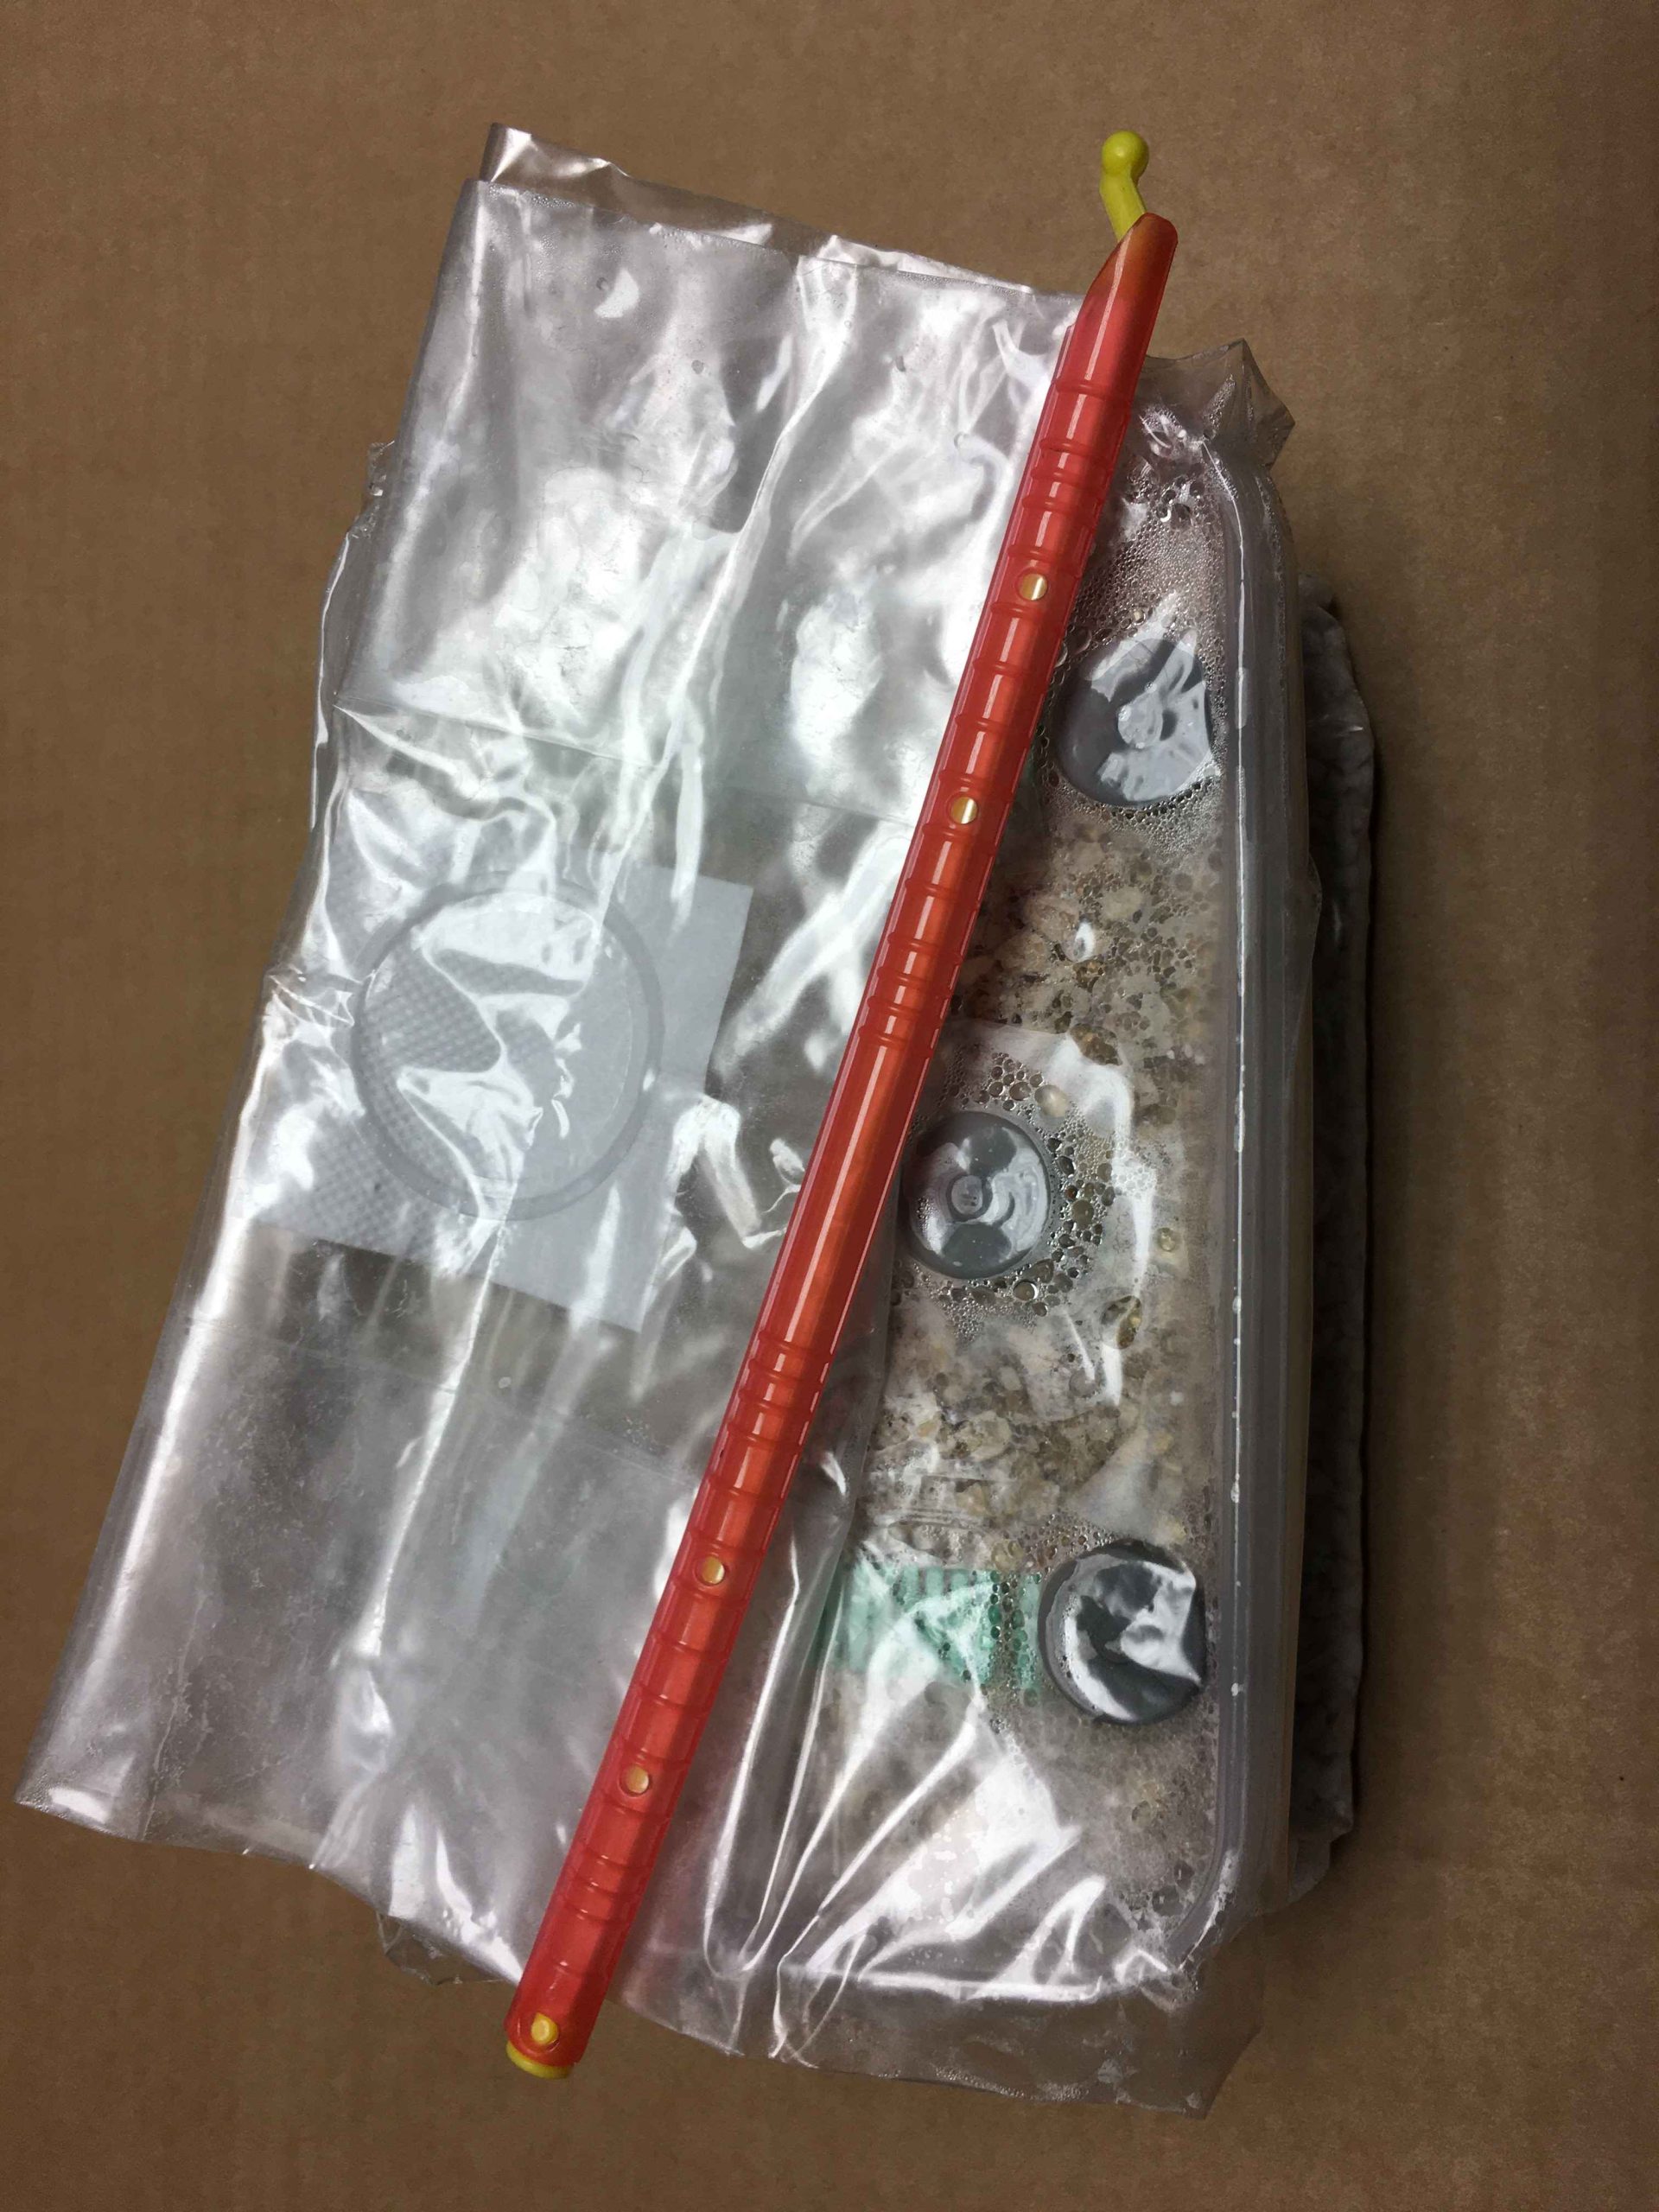
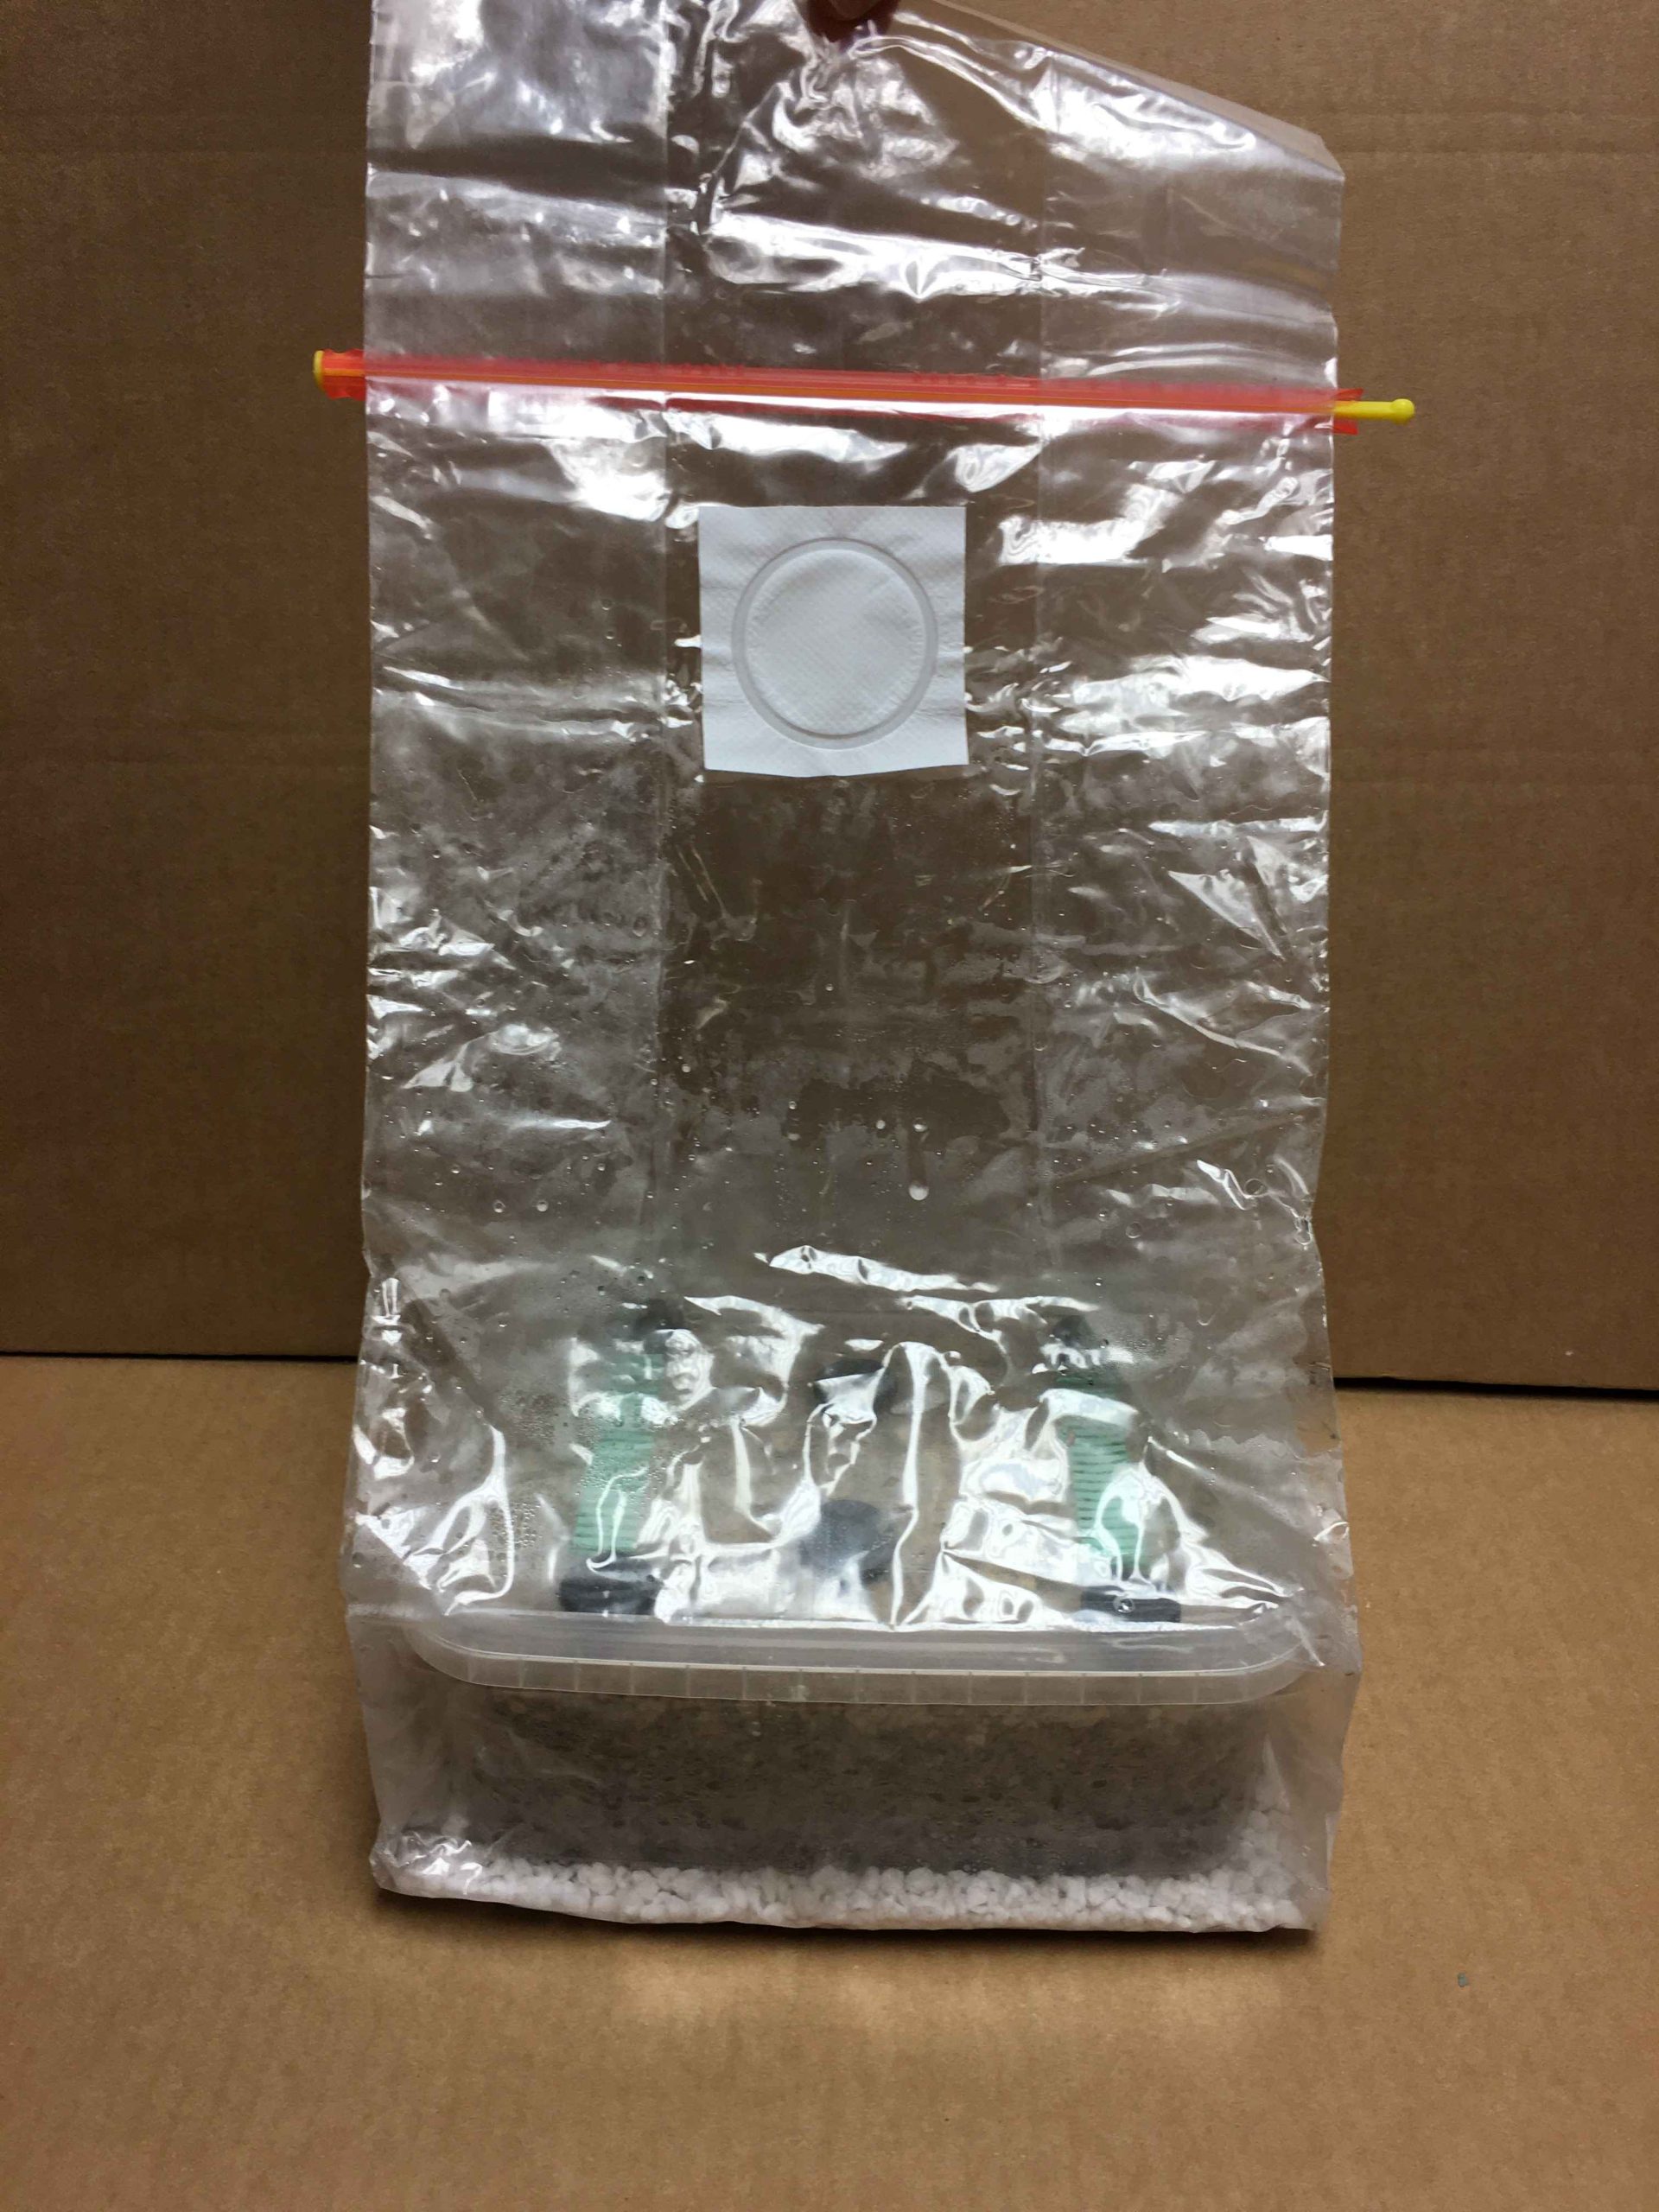
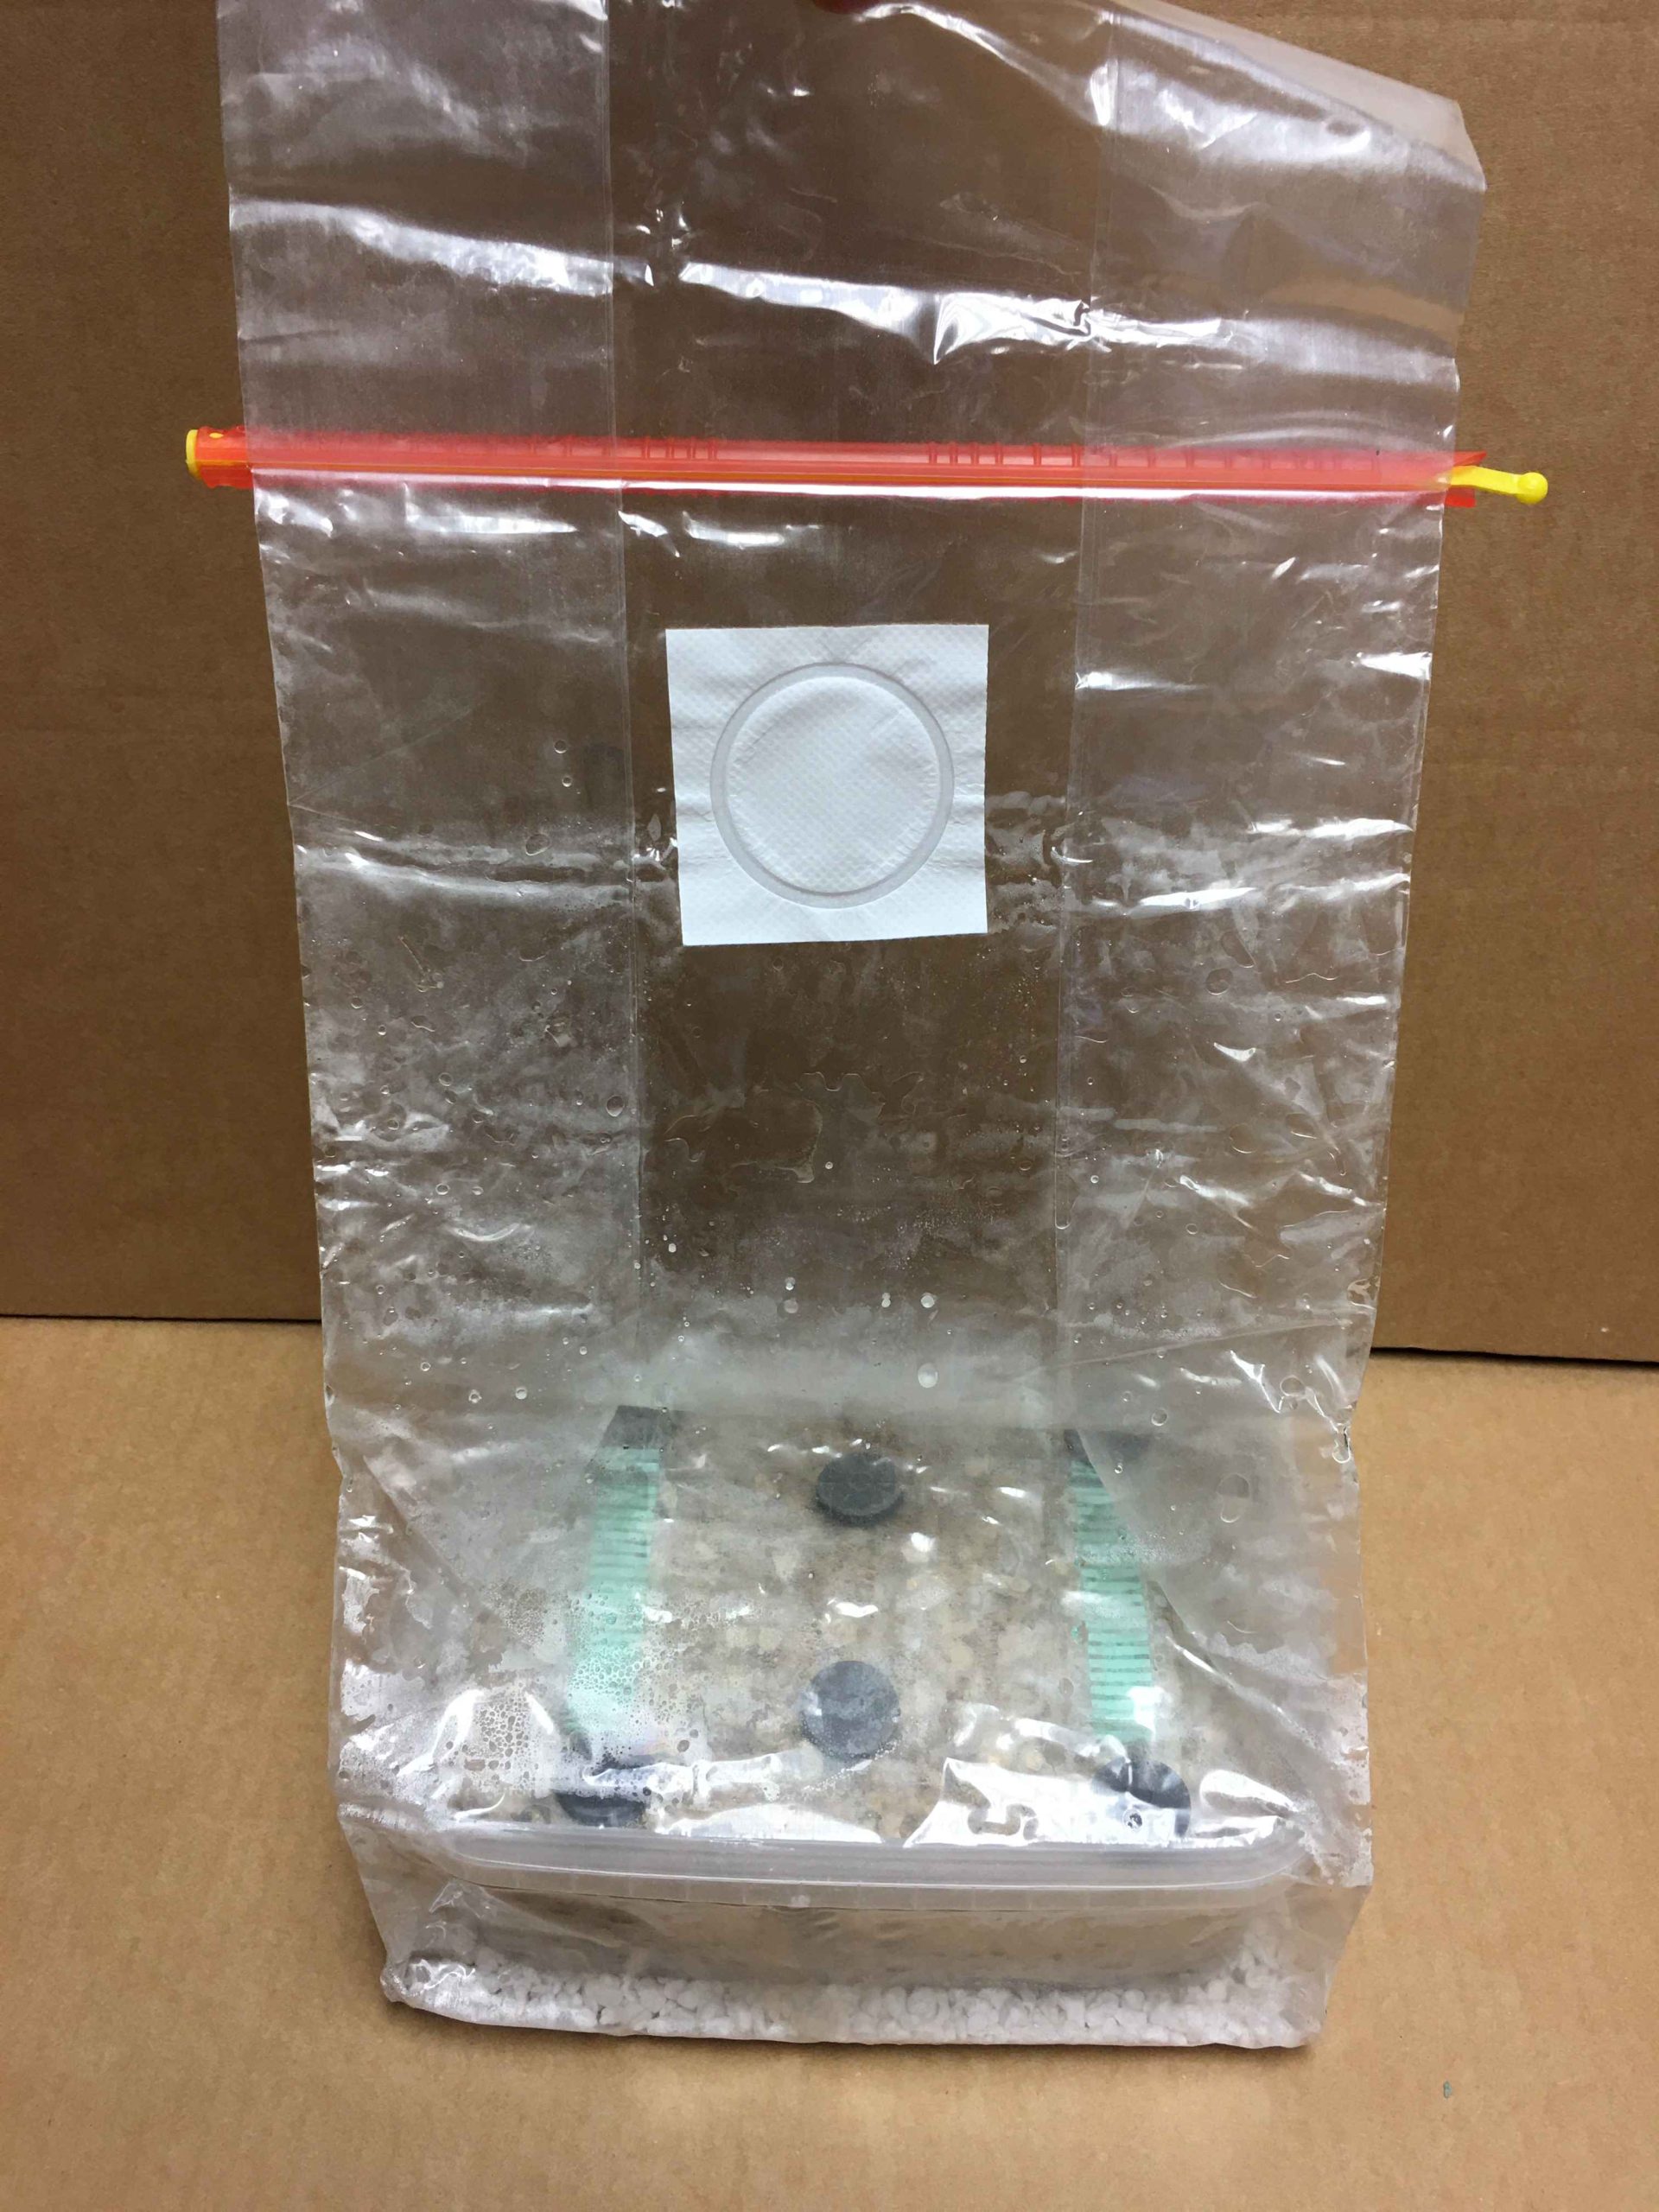
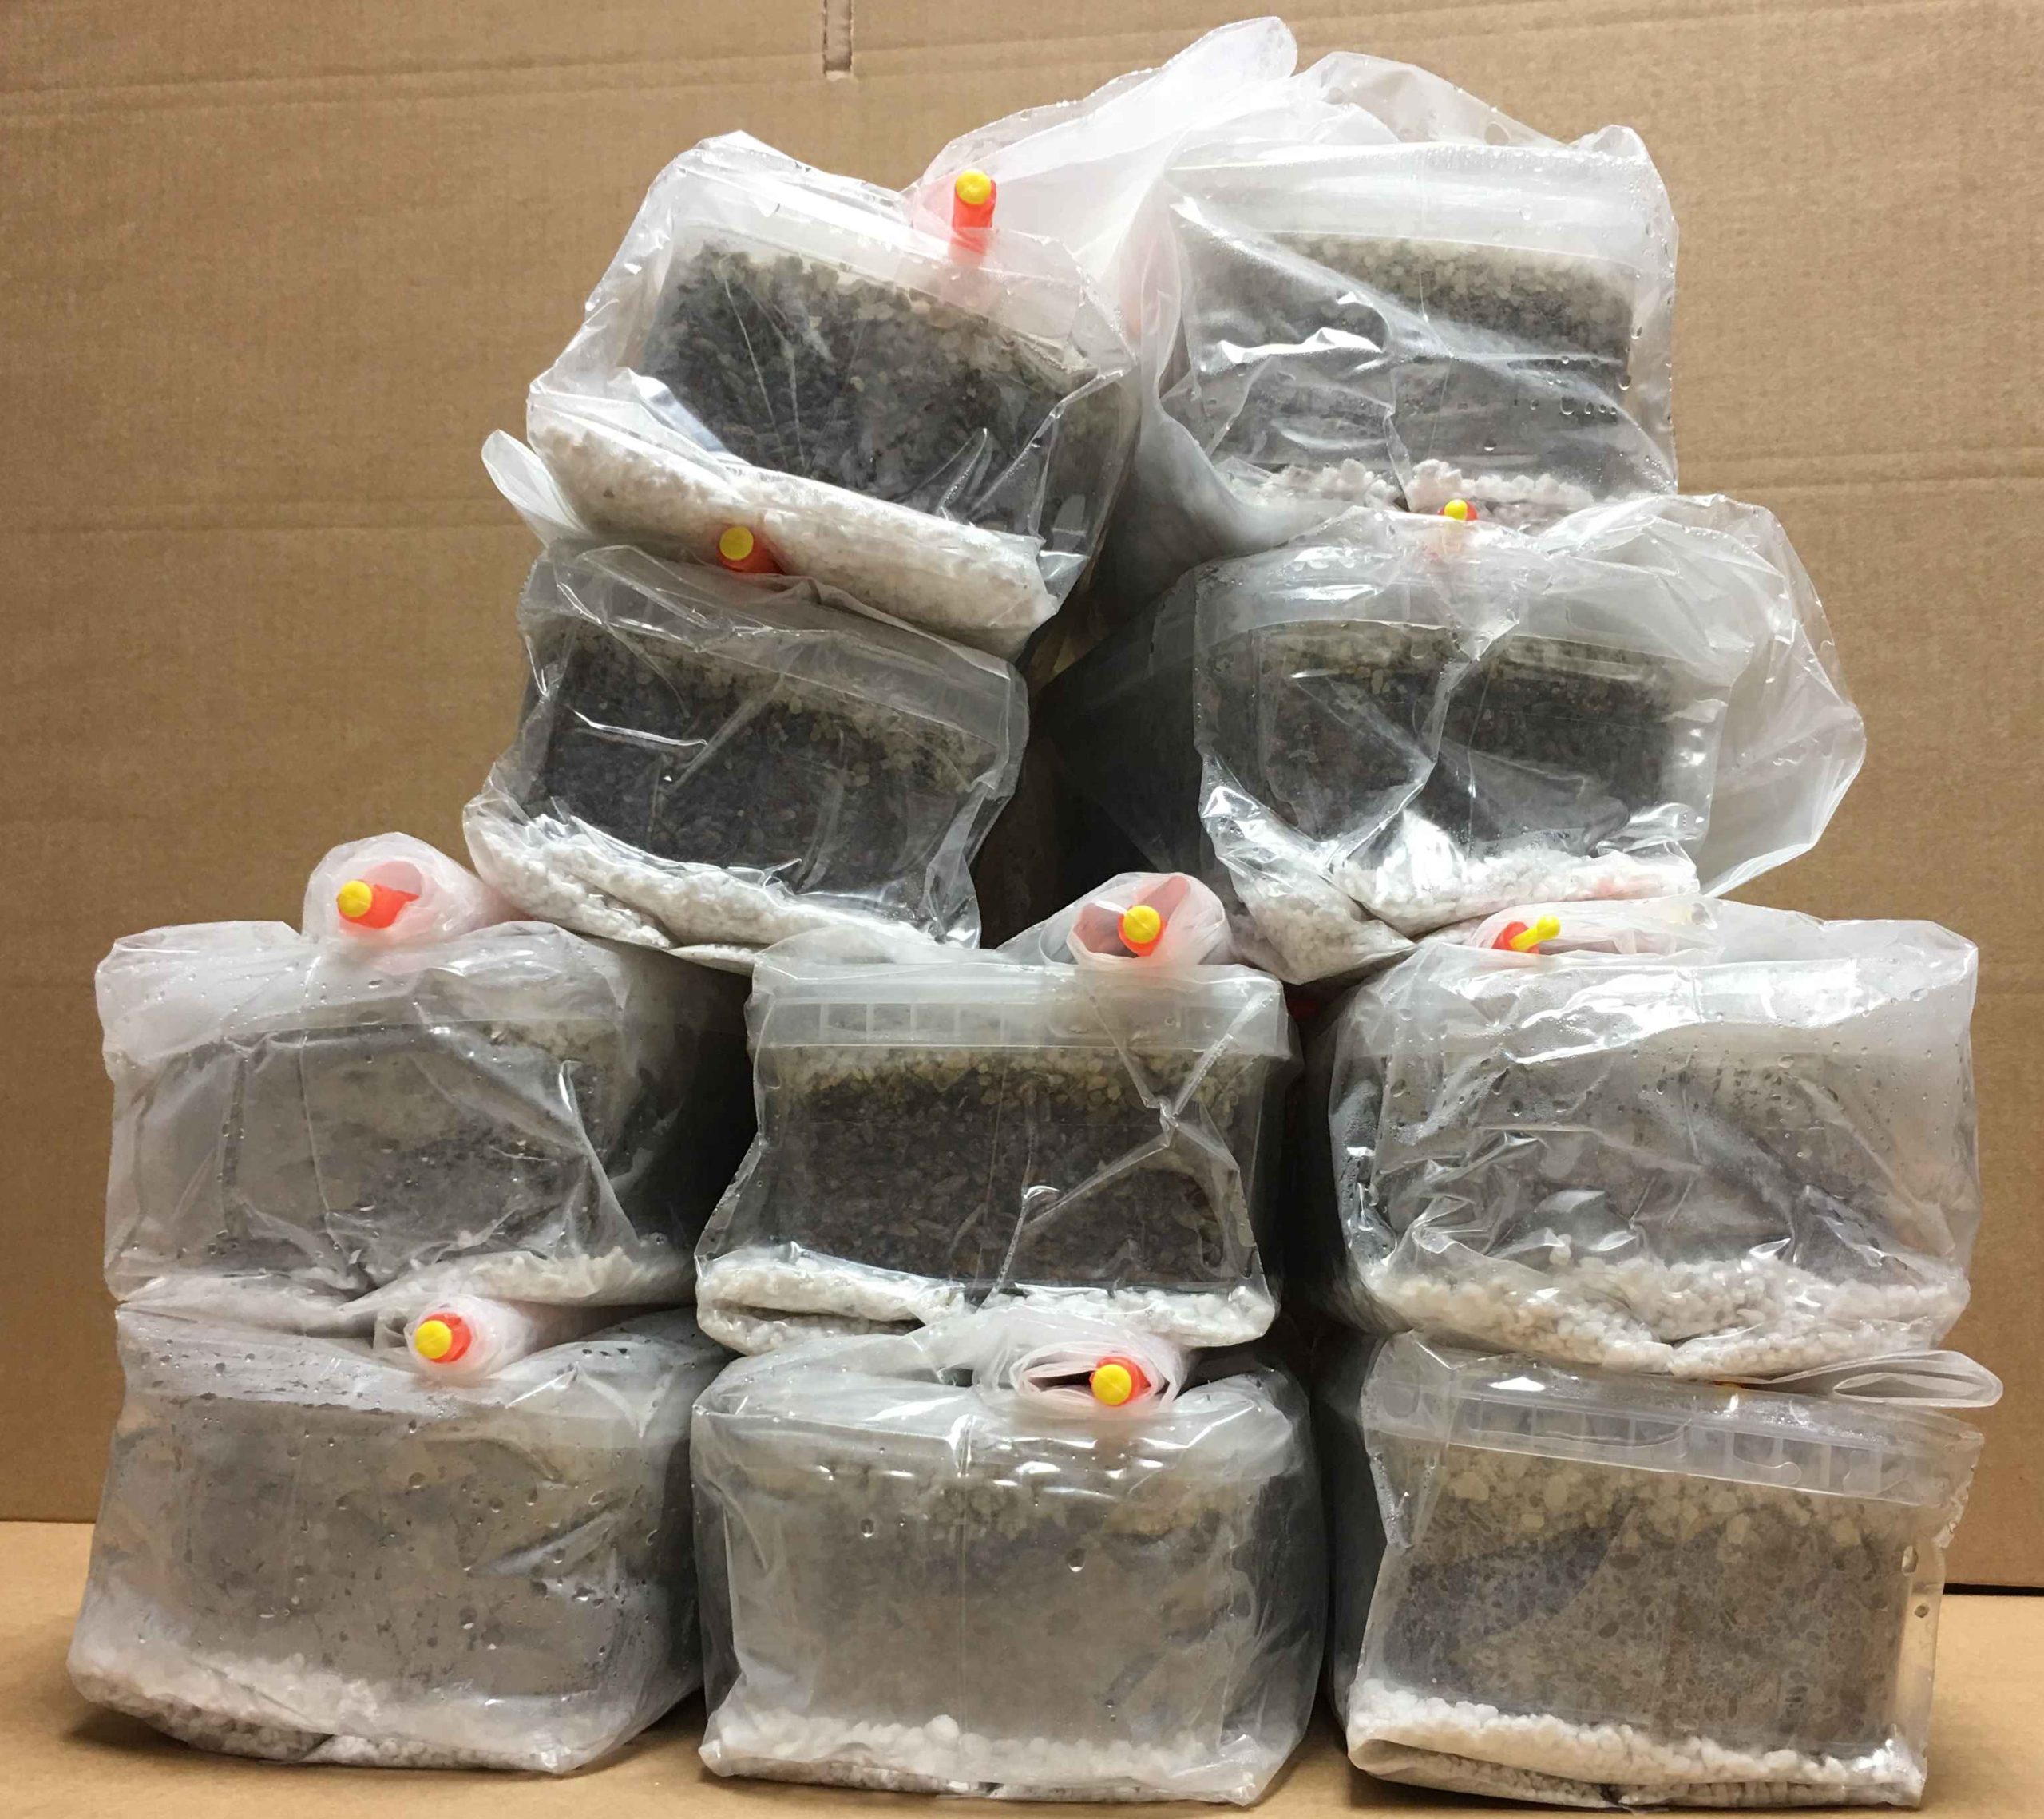
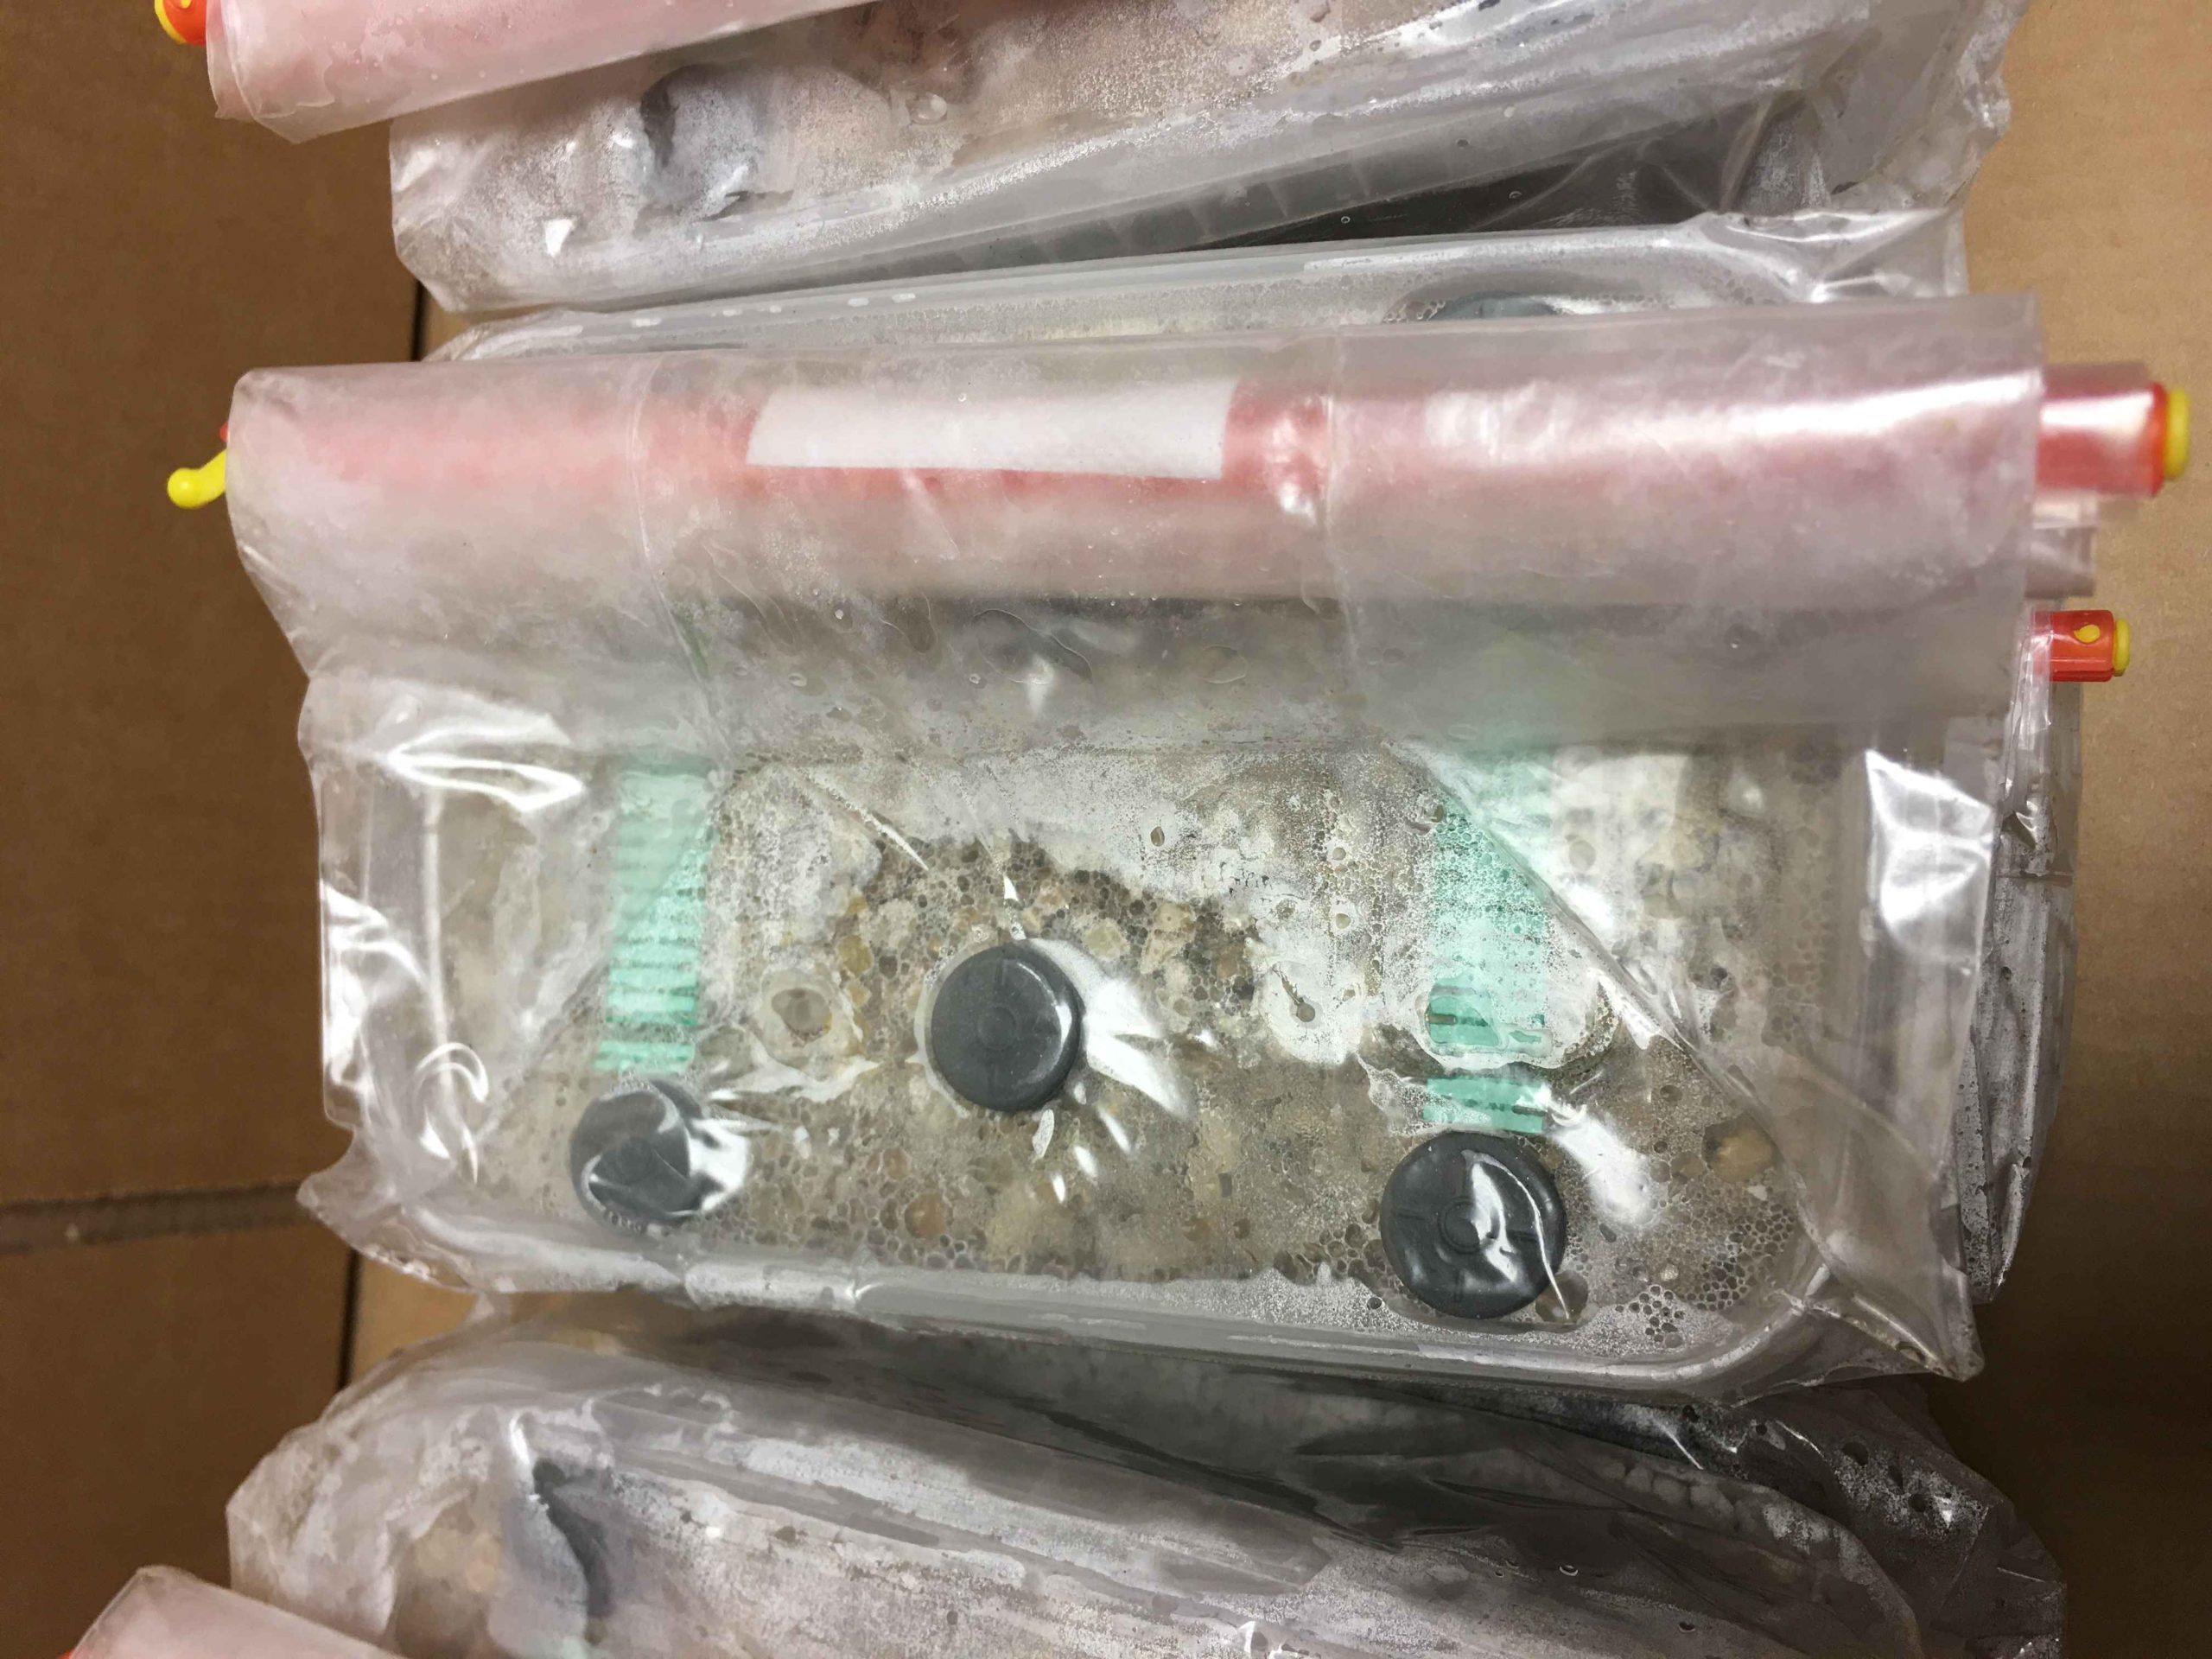
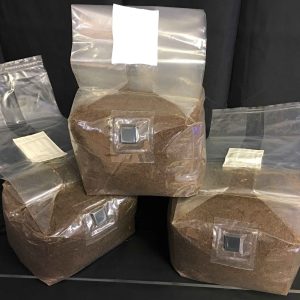
****We have placed the Dutch Style Mycobox and the perlite inside the Grow bag before sterilization. This means you get a sealed bag and all the contents inside are to be consider as sterile. This means you no longer have to wipe the injection ports before injecting your spore solution.****
This kit will include.
– Glove pack with polythene base shield to work on.
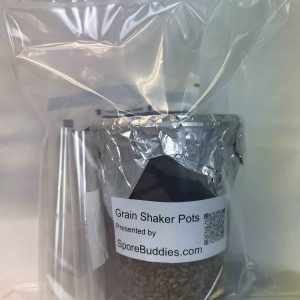
– Xls Grow Bag Containing….
– 250ml Perlite.
– Re-Usable XL 1200ml Dutch Style Mycobox.
– Sterile – Grain filled and vermiculite topped.
– 2x Micron Filter strips in the lid.
– 6 Injection Ports in the lid – do not remove the injection ports unless changing for re-use!
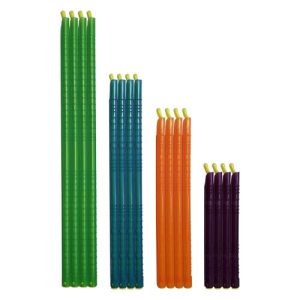
– Free easy glide sealer stick. This seals the bag during the sterilization process. Only remove this when you are ready to inoculate.
– Alcohol swabs are no longer needed to wipe the injection ports as they have been sterilized and will not be sent with this kit. Never wipe the needle or heat the needle, IT COMES STERILE.
To Inoculate.
Put on your gloves.
1-First, prepare your syringe and needle by unscrewing the black cap from the end of the syringe. Now quickly open the needle packet and screw the needle butt in the black caps place. Leave the protective needle cap on the needle till ready to use.
2- Open the bag by sliding the easy glide sealer stick to one side.
3- Pick up the syringe with needle in place and shake for 10 seconds.
4-Open the bag and remove the needle protector.
5- Divide the spore solution between the six ports.
6- Fold the bag closed as it was so you can slide the easy glide sealer stick back in place.
7-Now use the Gravity360 tek to distribute the spores as well as possible. Do this by tilting the tub on an angle for 10 seconds. This allows the spores to move around in the grains. Then change the angle for 10 seconds etc. By angle I mean that the tub should be on an angle like a play slide.
8-Storeing at 25-26C degrees will allow the spores to germinate and the mycelium to colonize the Rye grains well.
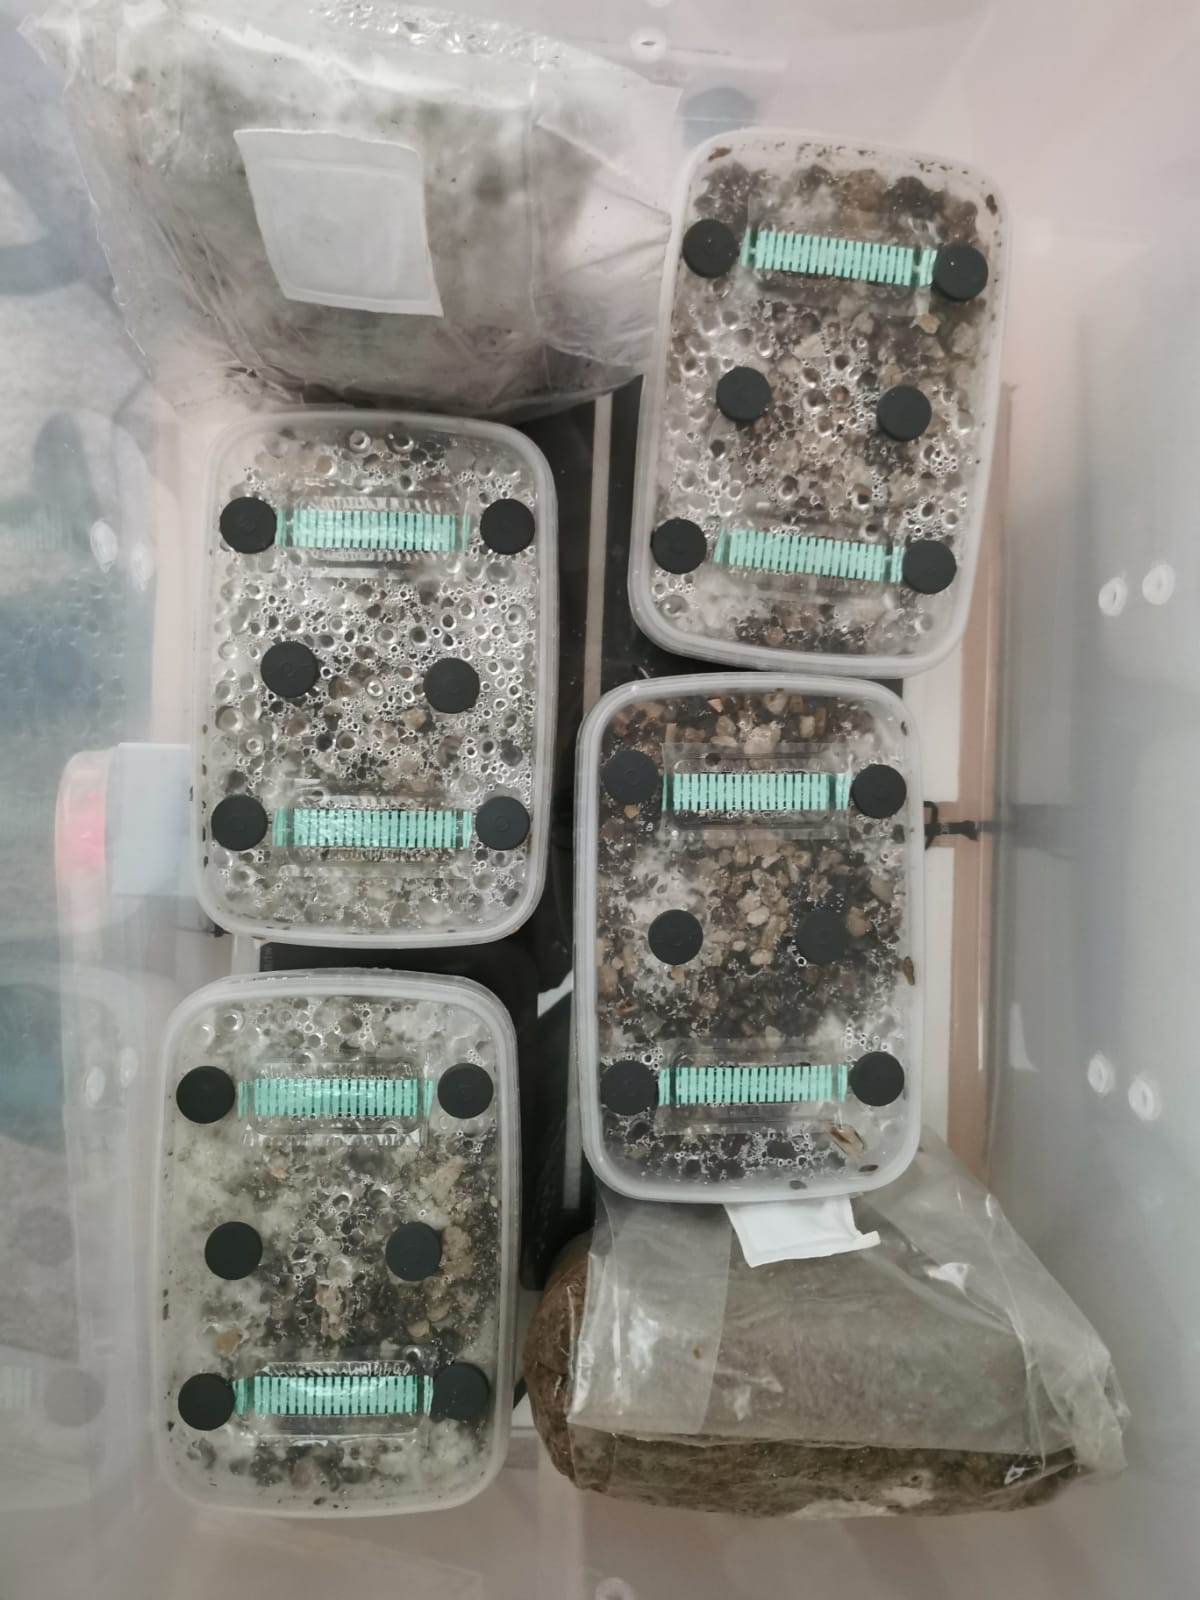
These Dutch Style Mycoboxes race through the colonization process. Full colonization at ambient temperature 25-26.6c is currently possible within 3-4 weeks from injection! Mycoboxes heated by Heat Mats take 4-6 weeks to fully colonize.
When the Grain inside the kit has all turned white the Dutch Style Grow Kit may be fruited. The kits should be fruited when the mycelium is starting to grow through the vermiculite. Don’t wait for all the vermiculite to be overgrown. Over grown mycelium will form a skin on its surface and will not fruit correctly.
To fruit the Dutch Style Grow Kit.
Use temps of 25-26.6c and add a source of lighting. Dim lighting works best……
How to fruit by using the included Fruiting Bag.
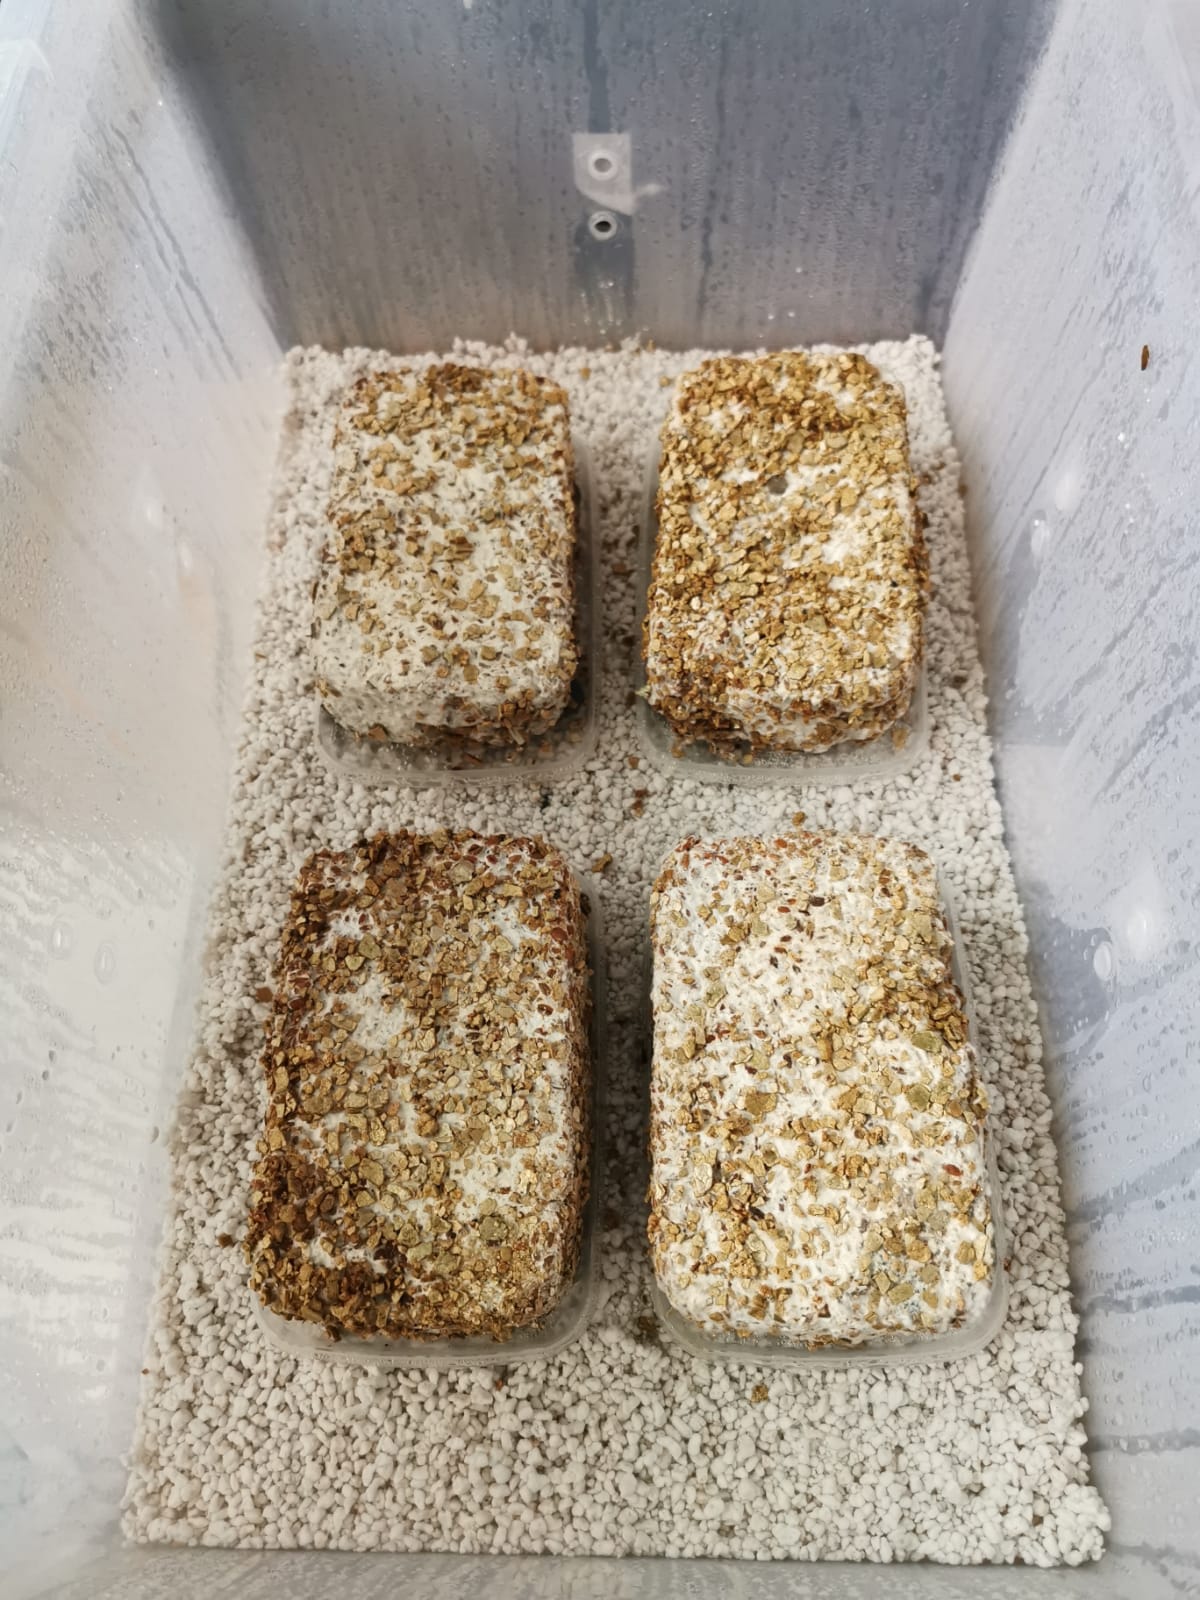
The humidity tent (XLS Fruiting Bag supplied in the kit):
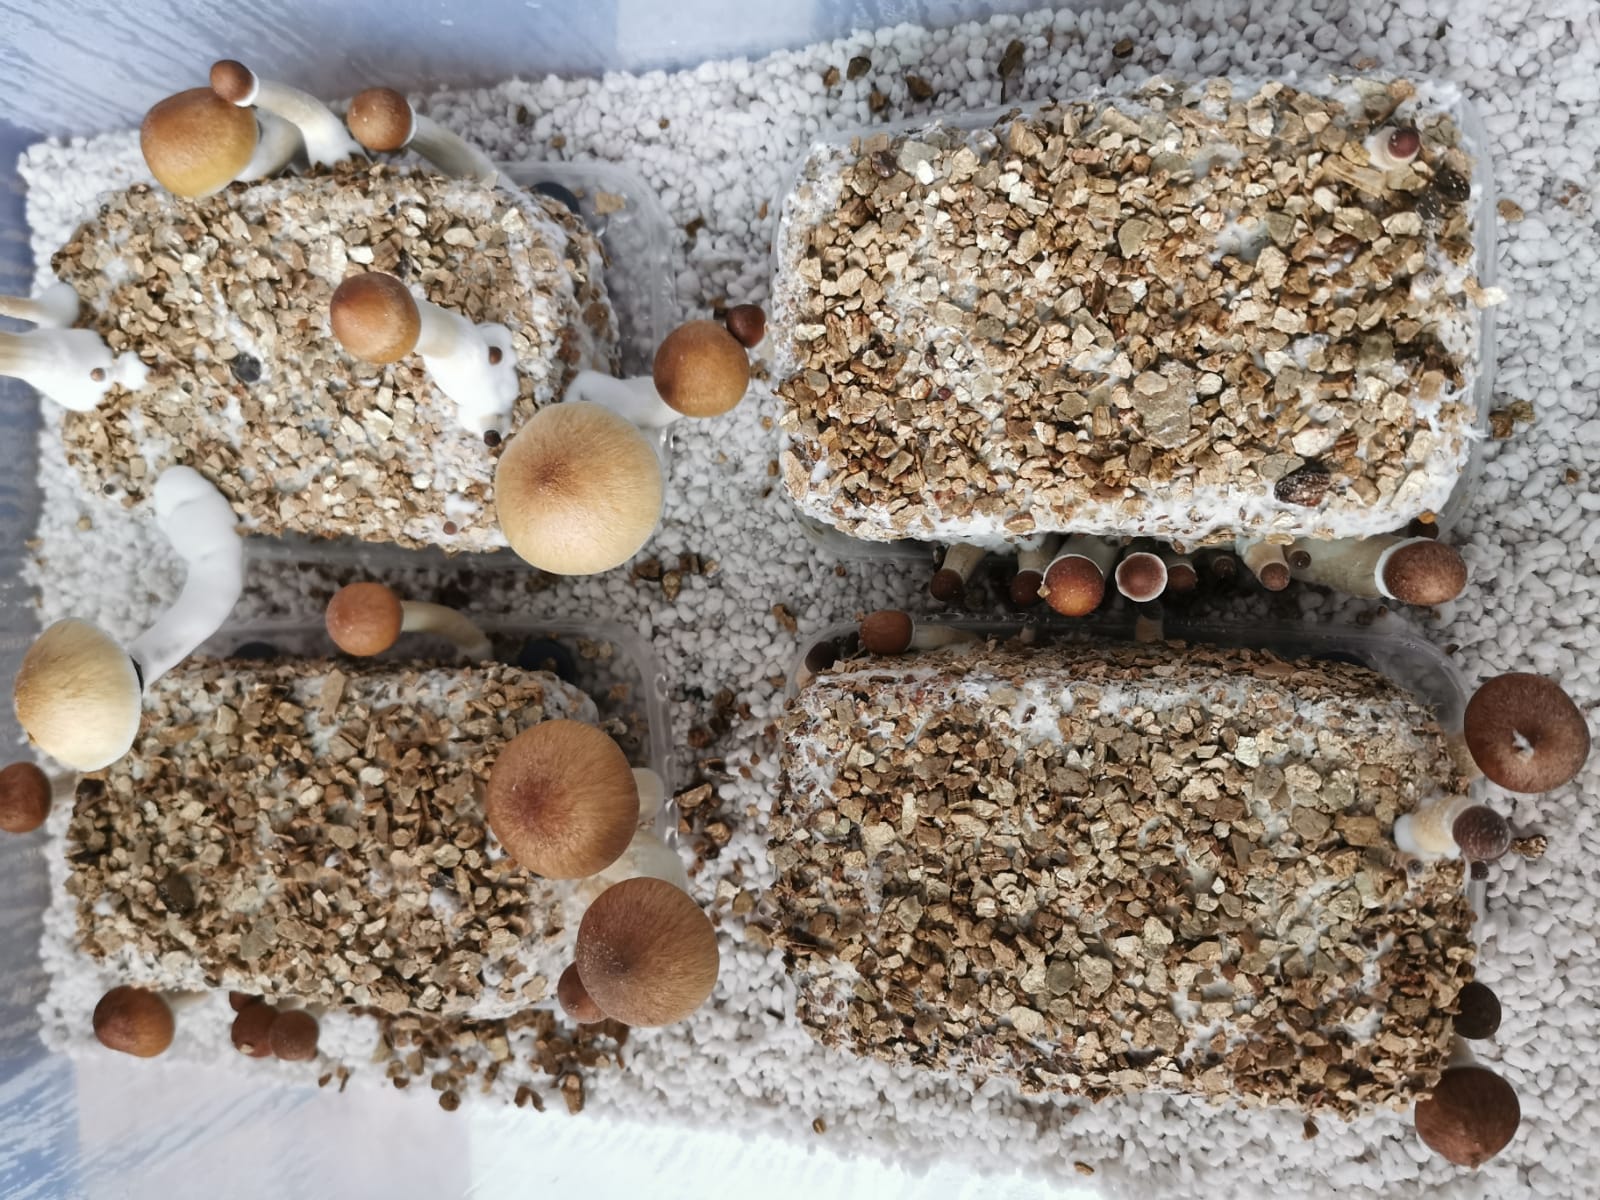
To fruit the Dutch Style MycoBox you will use the provided XLS grow bag as a humidity tent. To help with moisture control you will wet the provided perlite by pouring 150ml of water into the perlite in the base of the XLS fruiting bag. Place in a well lit but not direct sunlit spot that is as close to 25-26.6c as possible.
DO NOT REMOVE THE PROTECTIVE LID UNTIL THE BOX IS FULLY COLONISED/WHITE AND YOU ARE READY TO FRUIT..
1. Take a spray bottle. Use this to spray mist onto the inner 4 sides of the fruiting bag. Try not to spray the surface of the cake. This will damage the delicate mycelium. As you spray the inner sides of the bag moisture will bounce off and gently fall onto the cakes surface. Do so until the exposed surface of the cake is glistening with fine water droplets known as DEW.
2. Close the fruiting bag and seal the top with a paper clip or similar. Leave for 24 hours. When you go back after 24hrs the cake surface should STILL be covered by tiny water droplets like morning dew.
3. You will need to open the bags top and fan fresh air into the bag. This will aid in the evaporation of the tiny water droplets on the cakes surface. This action will trigger the pins to form.
4. 3 times a day you will need to check the bag.
– If there are tiny water droplets on the cakes surface…. Fan the bag for 60 seconds. Then close.
– If there are not many tiny water droplets on the cake….. Spray the inner sides of the grow bag until you have tiny water droplets. Now fan for 60 seconds.
– If the water droplets have collected and have started to pool you have sprayed too much water. Pour/tip the water off the surface. Now fan 120 seconds 3 times a day until pooling has evaporated. Use spray bottle to correct conditions back to the fine DEW.
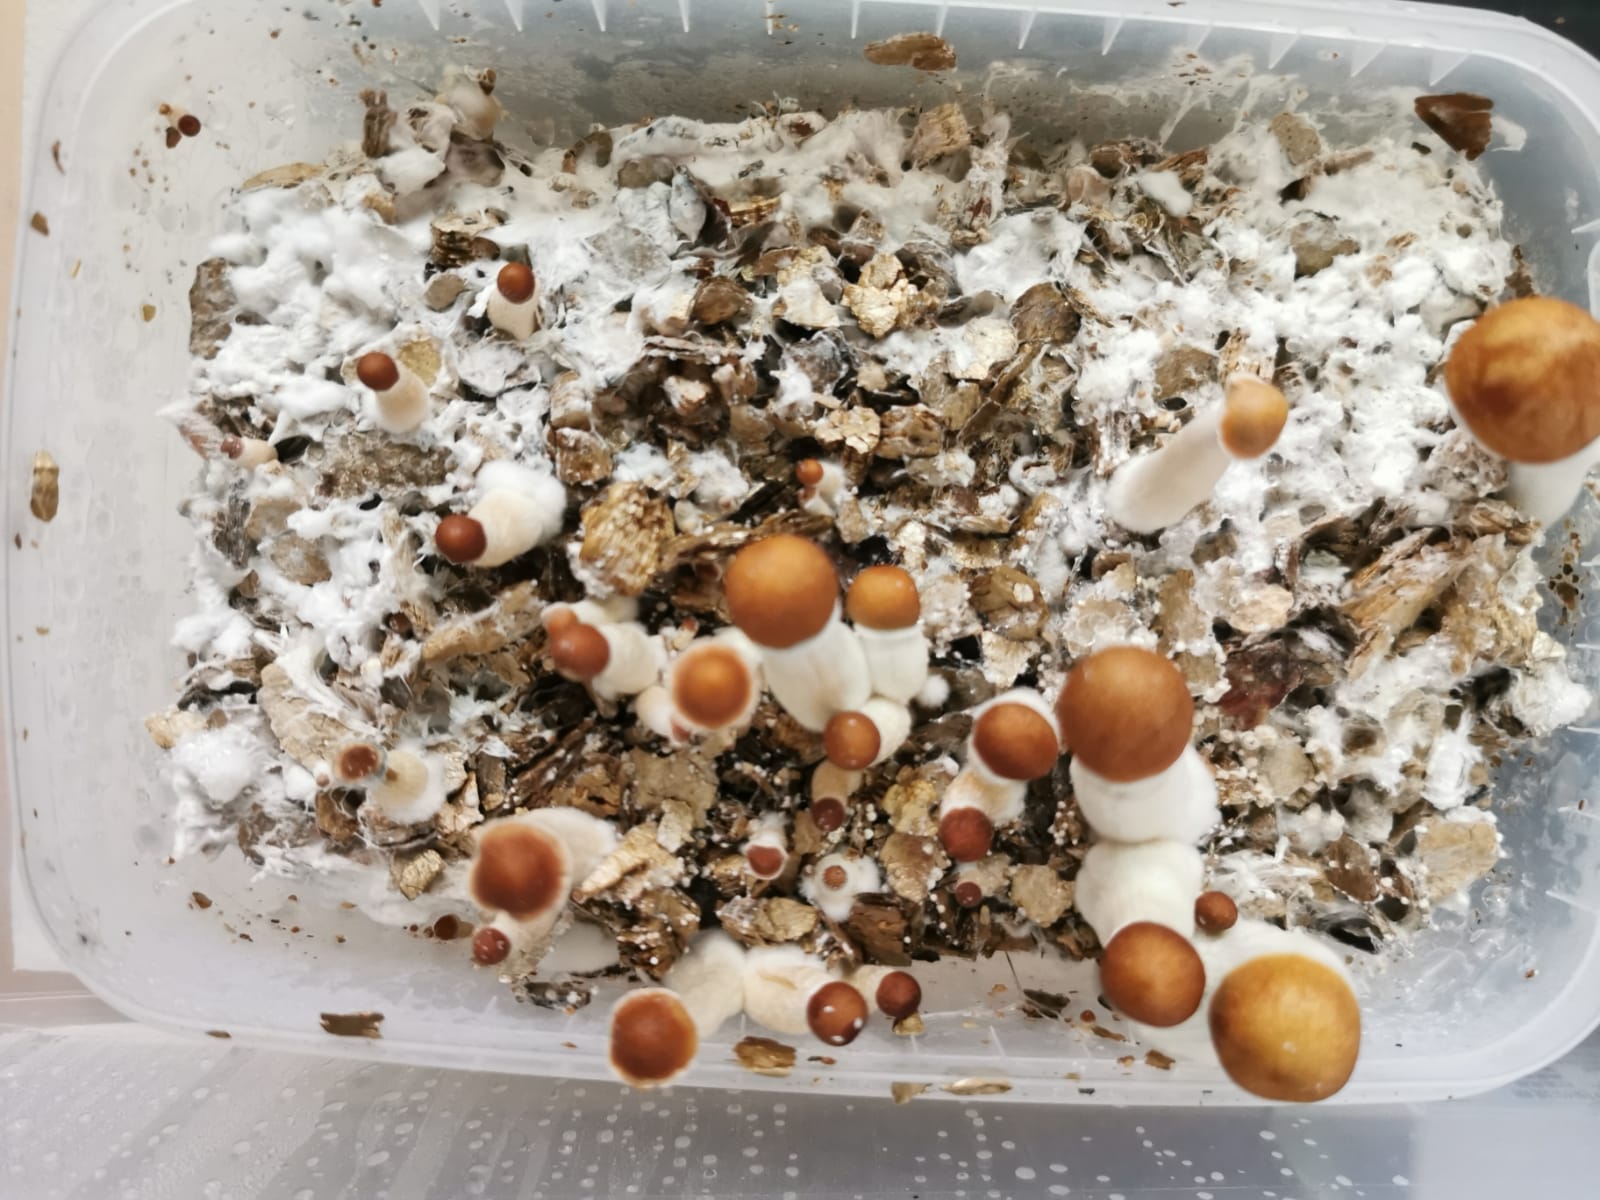
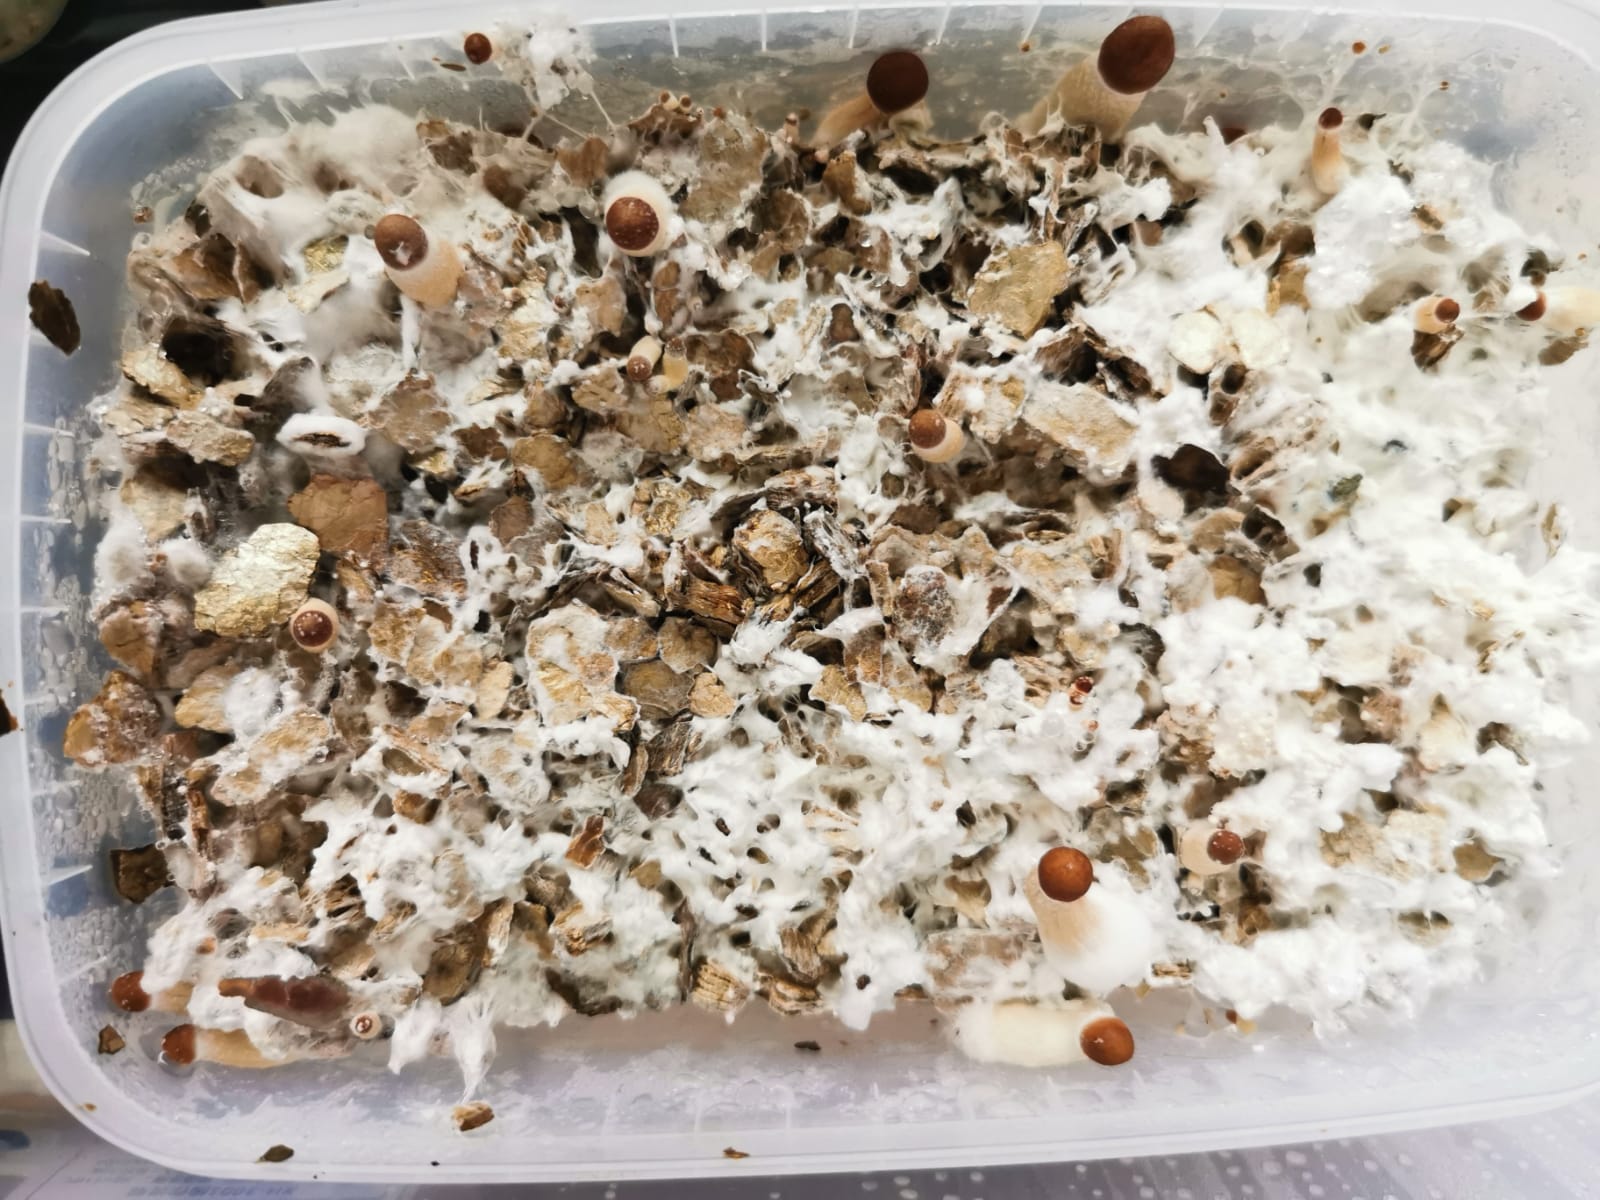
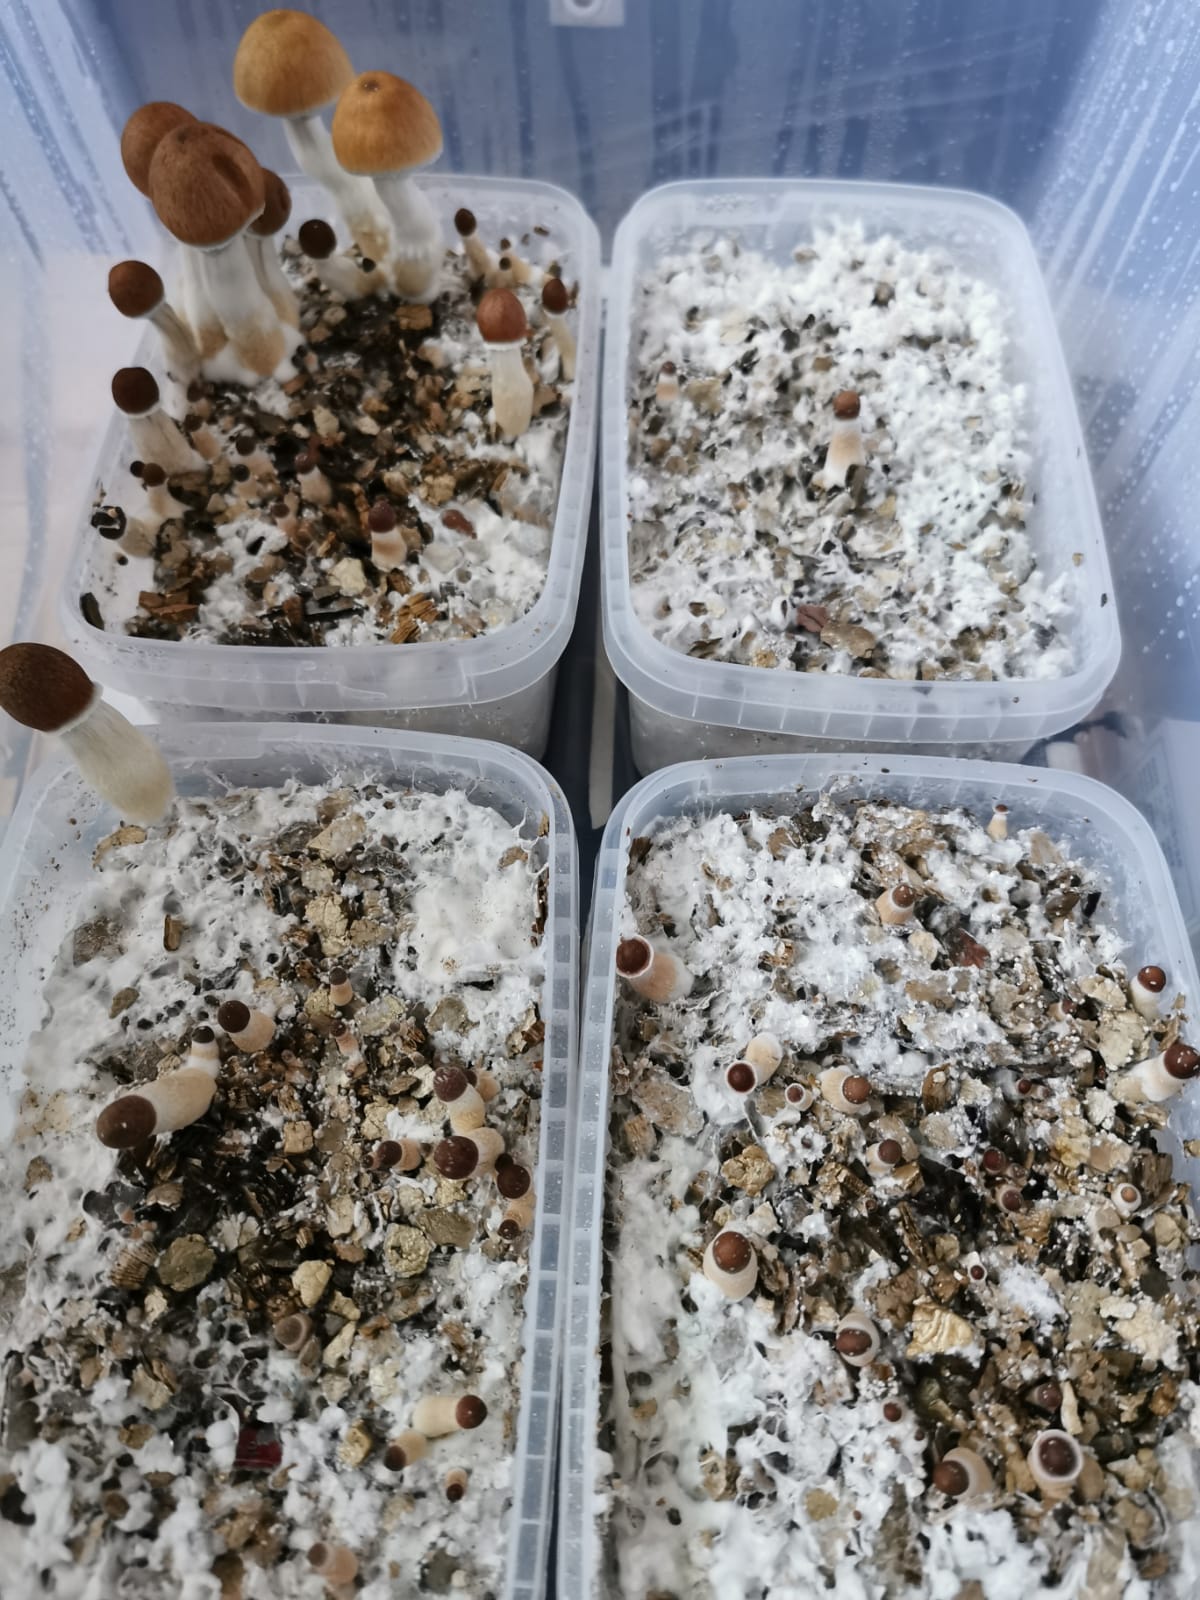
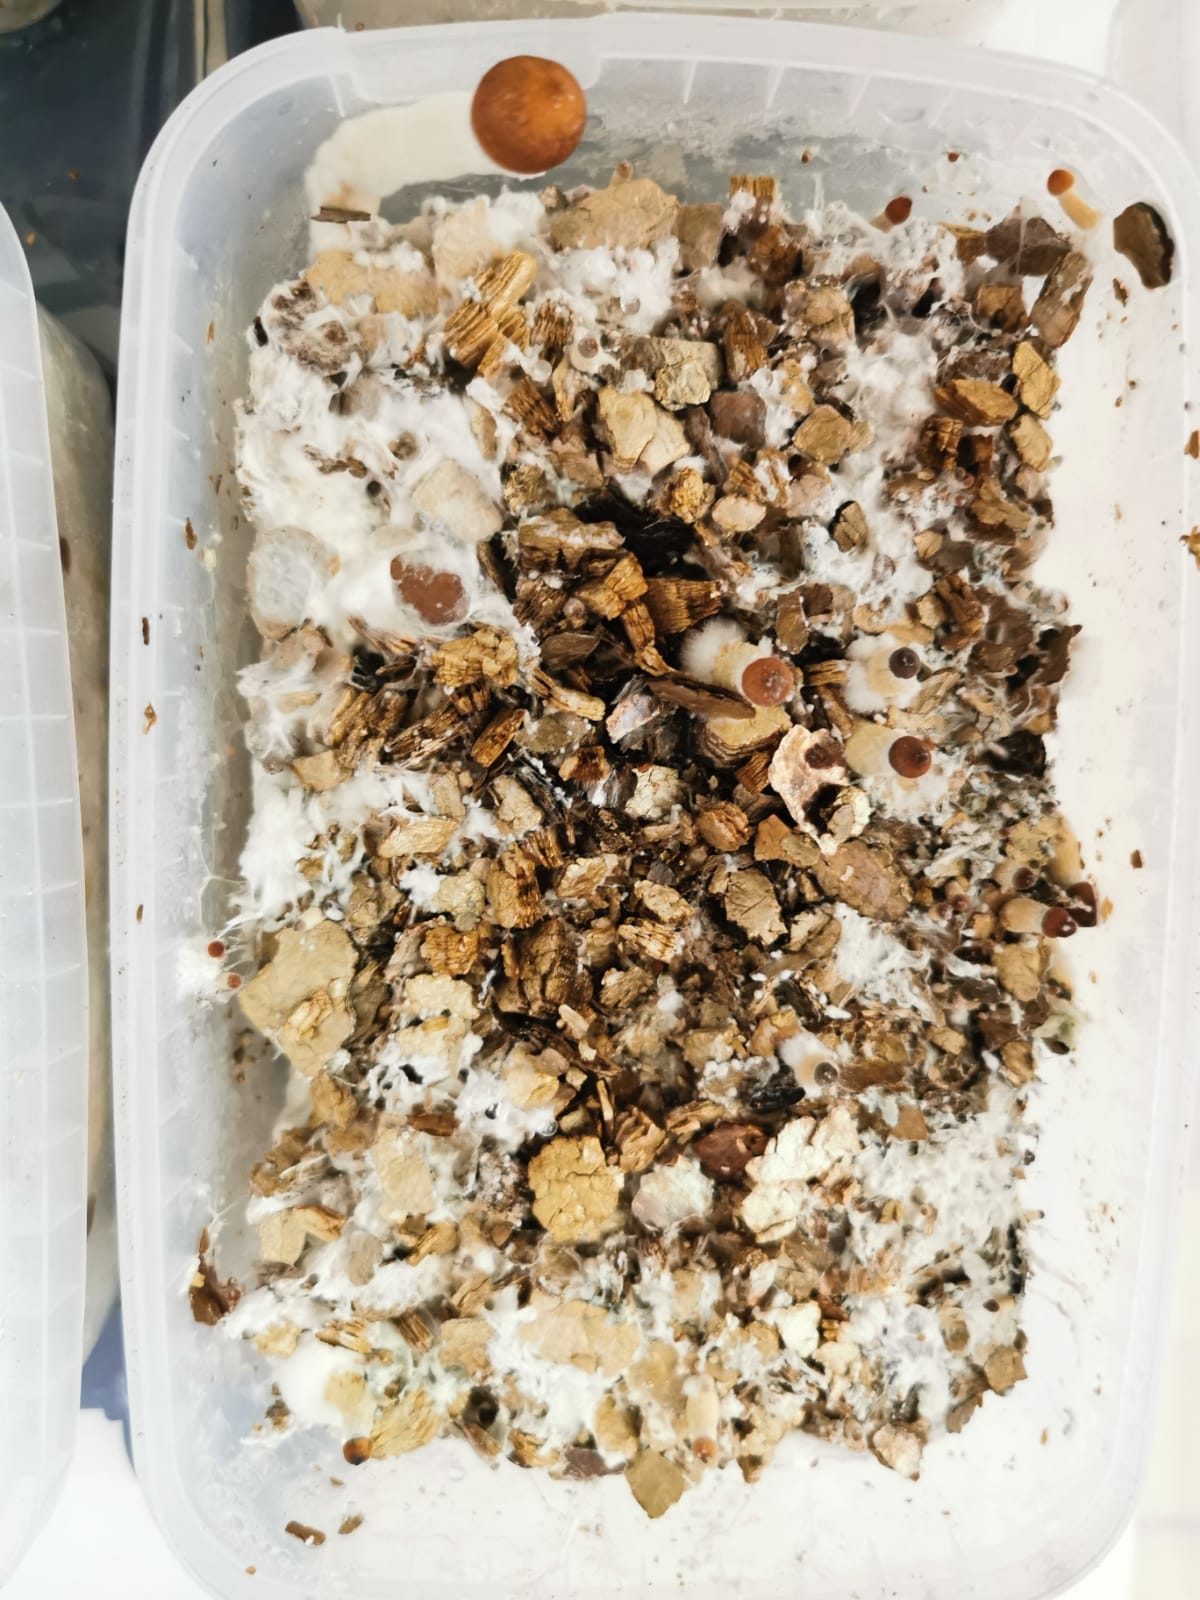
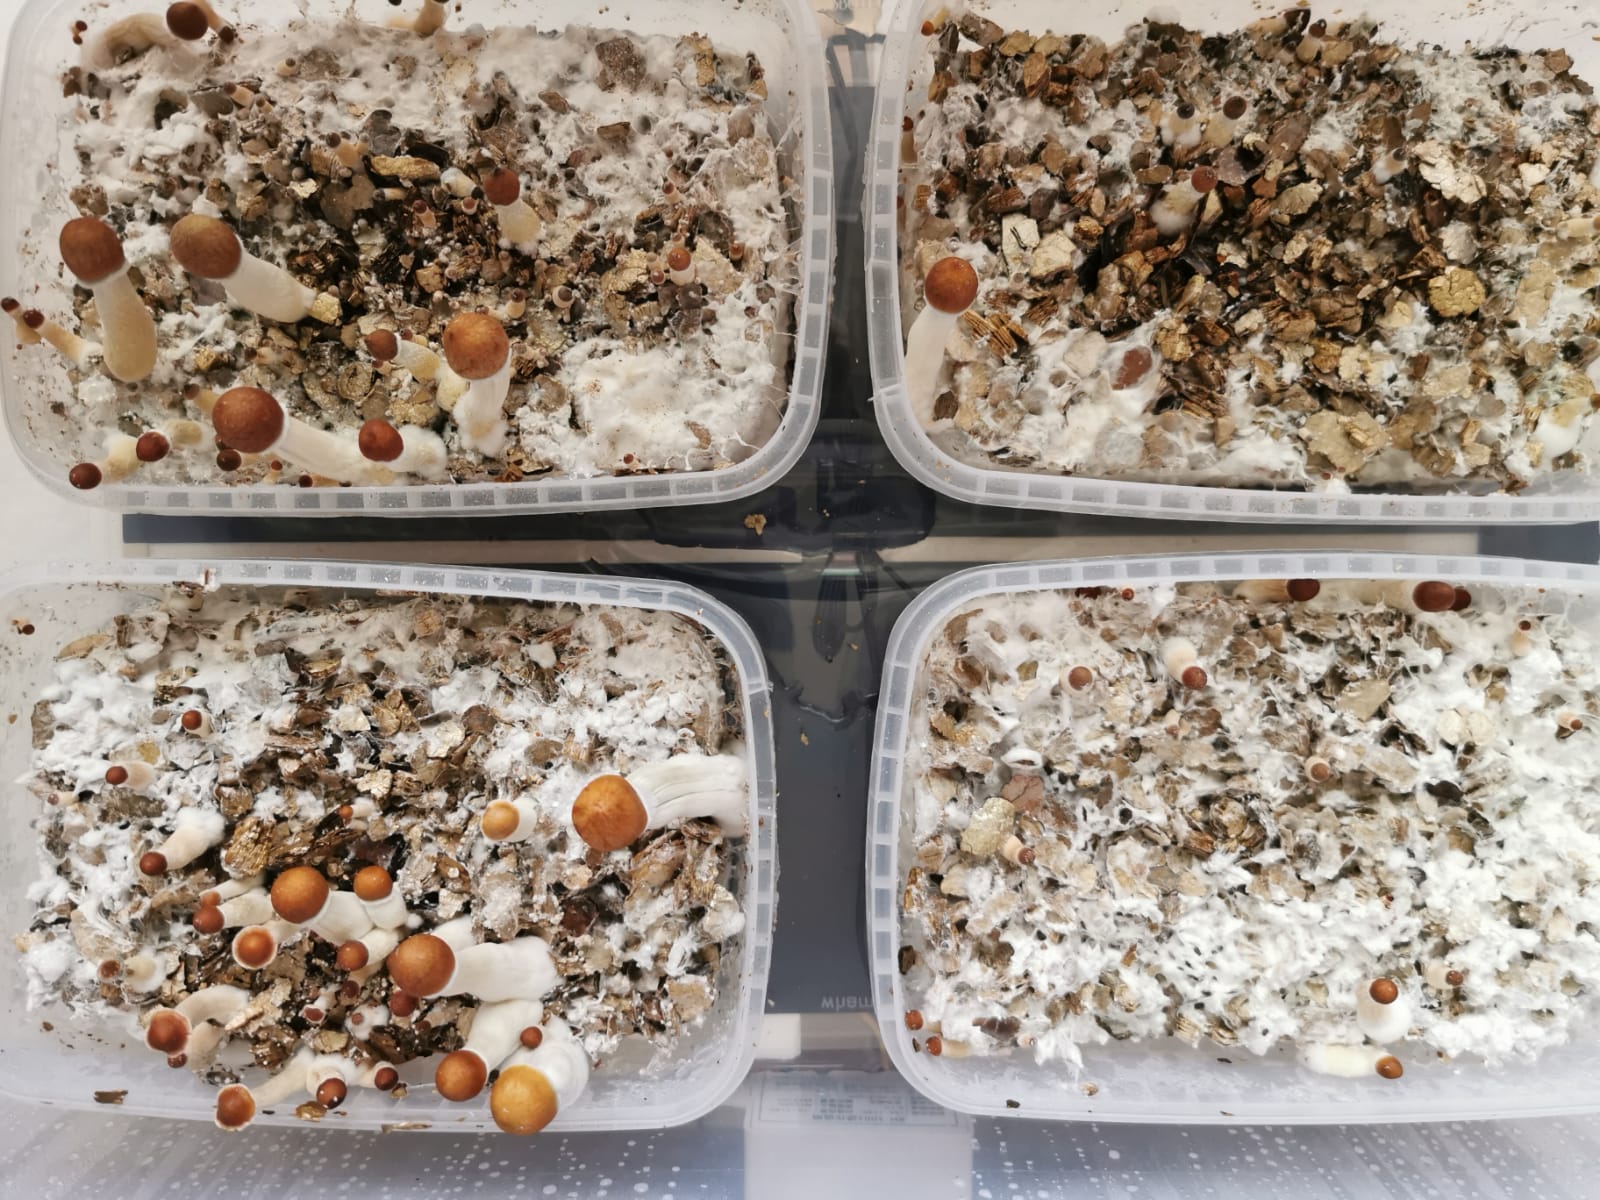
5. 10-14 Days after Starting the fruiting cycle you should see tiny dots forming on the cakes surface. These dots will grow over the next few days into tiny mushrooms. Keep humidity inside the bag very high at this time but keep fanning. The more” Spray mist then fan” cycles you give the growing pins at this stage the more dense the pin formation will be. With some strains this time may be as short as 4 days or as long as 21 days.
6. As the mushroom grow and develop you can ease back on the moisture and increase fanning if the mushrooms develop fuzzy feet. You may increase the moisture but maintain the fanning if the mushroom caps look dry or cracked.
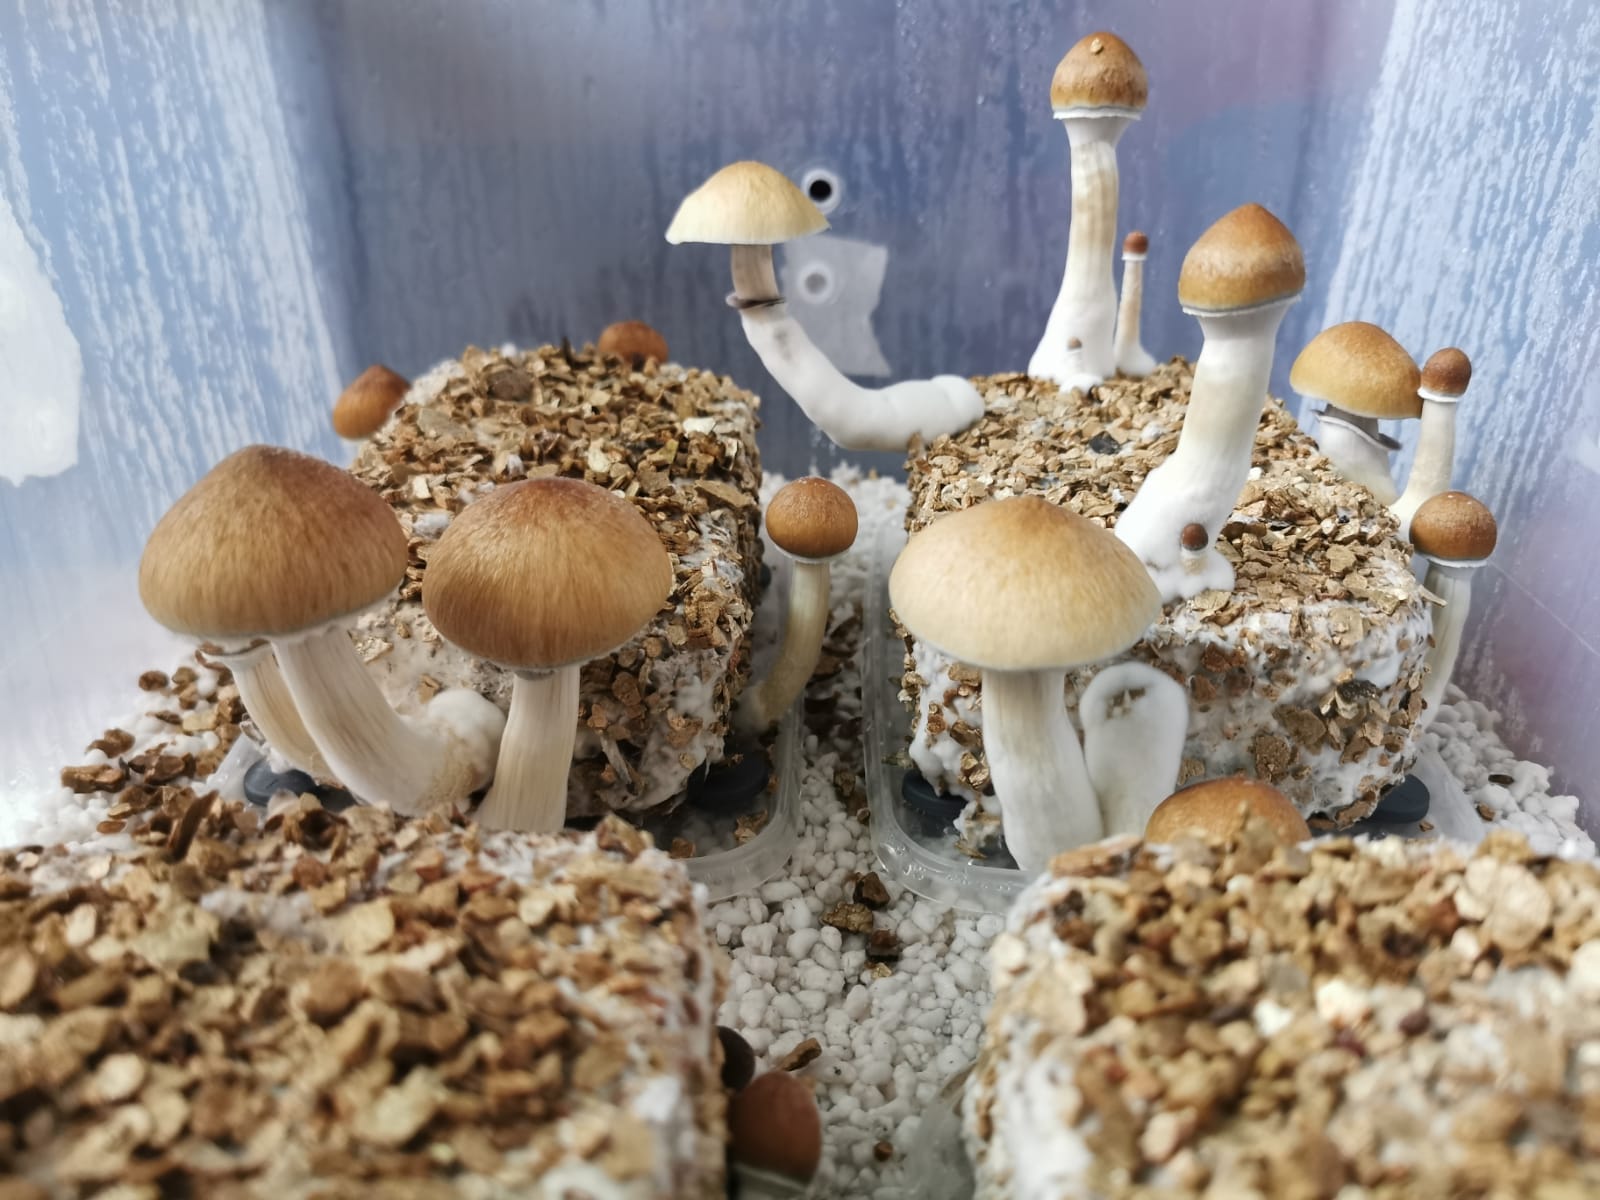
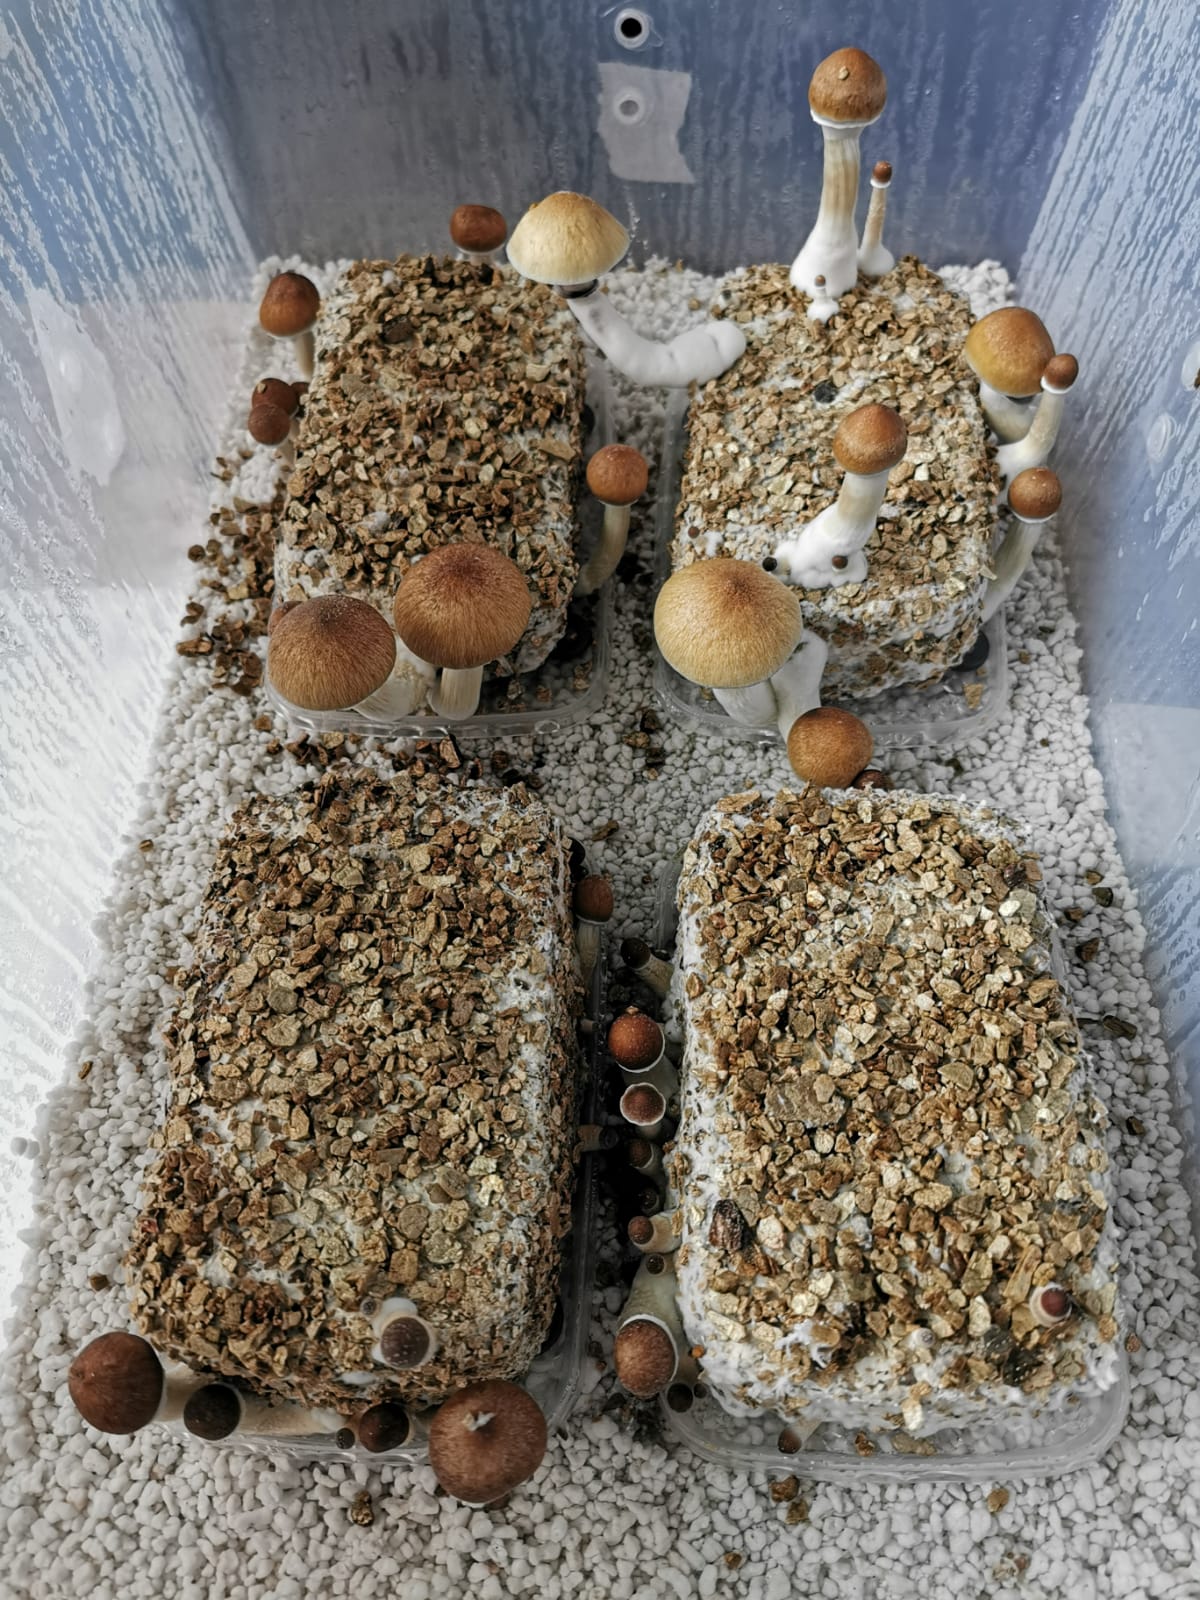
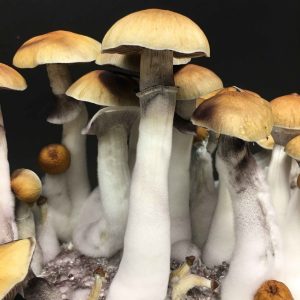
7. The mushroom are ready to harvest when the caps start to opens and the thin connecting veil between the stem and cap starts to break and certainly before the mushrooms start to drop spores. Spore drop is indicated by a sudden black sooty covering on the cakes surface.
8. Colours other than white growth may be contamination. Please consult the team first.
9. Harvest by cutting mushrooms free, close to the base of the stem. The tiny stumps will disappear when you re-soak the cake for the next flush…. Its just magical. You will see the little stumps just disappear under fresh new growth but the tiny pins that are left safe at the base will grow on the next flush.
You can harvest by grasping mature mushrooms at the base. Twisting as you pull the mushroom free from the substrate. The author feels this can damage the cakes surface leading to a poor 2nd, 3rd ,4th flushes.
To fruit again and again. Simply pour water into the tub. Leave for 24 hrs. Drain the tub on its end by the sink for some 10miniuts. A damp cake takes longer to fruit. Repeat from steps 4 onward.
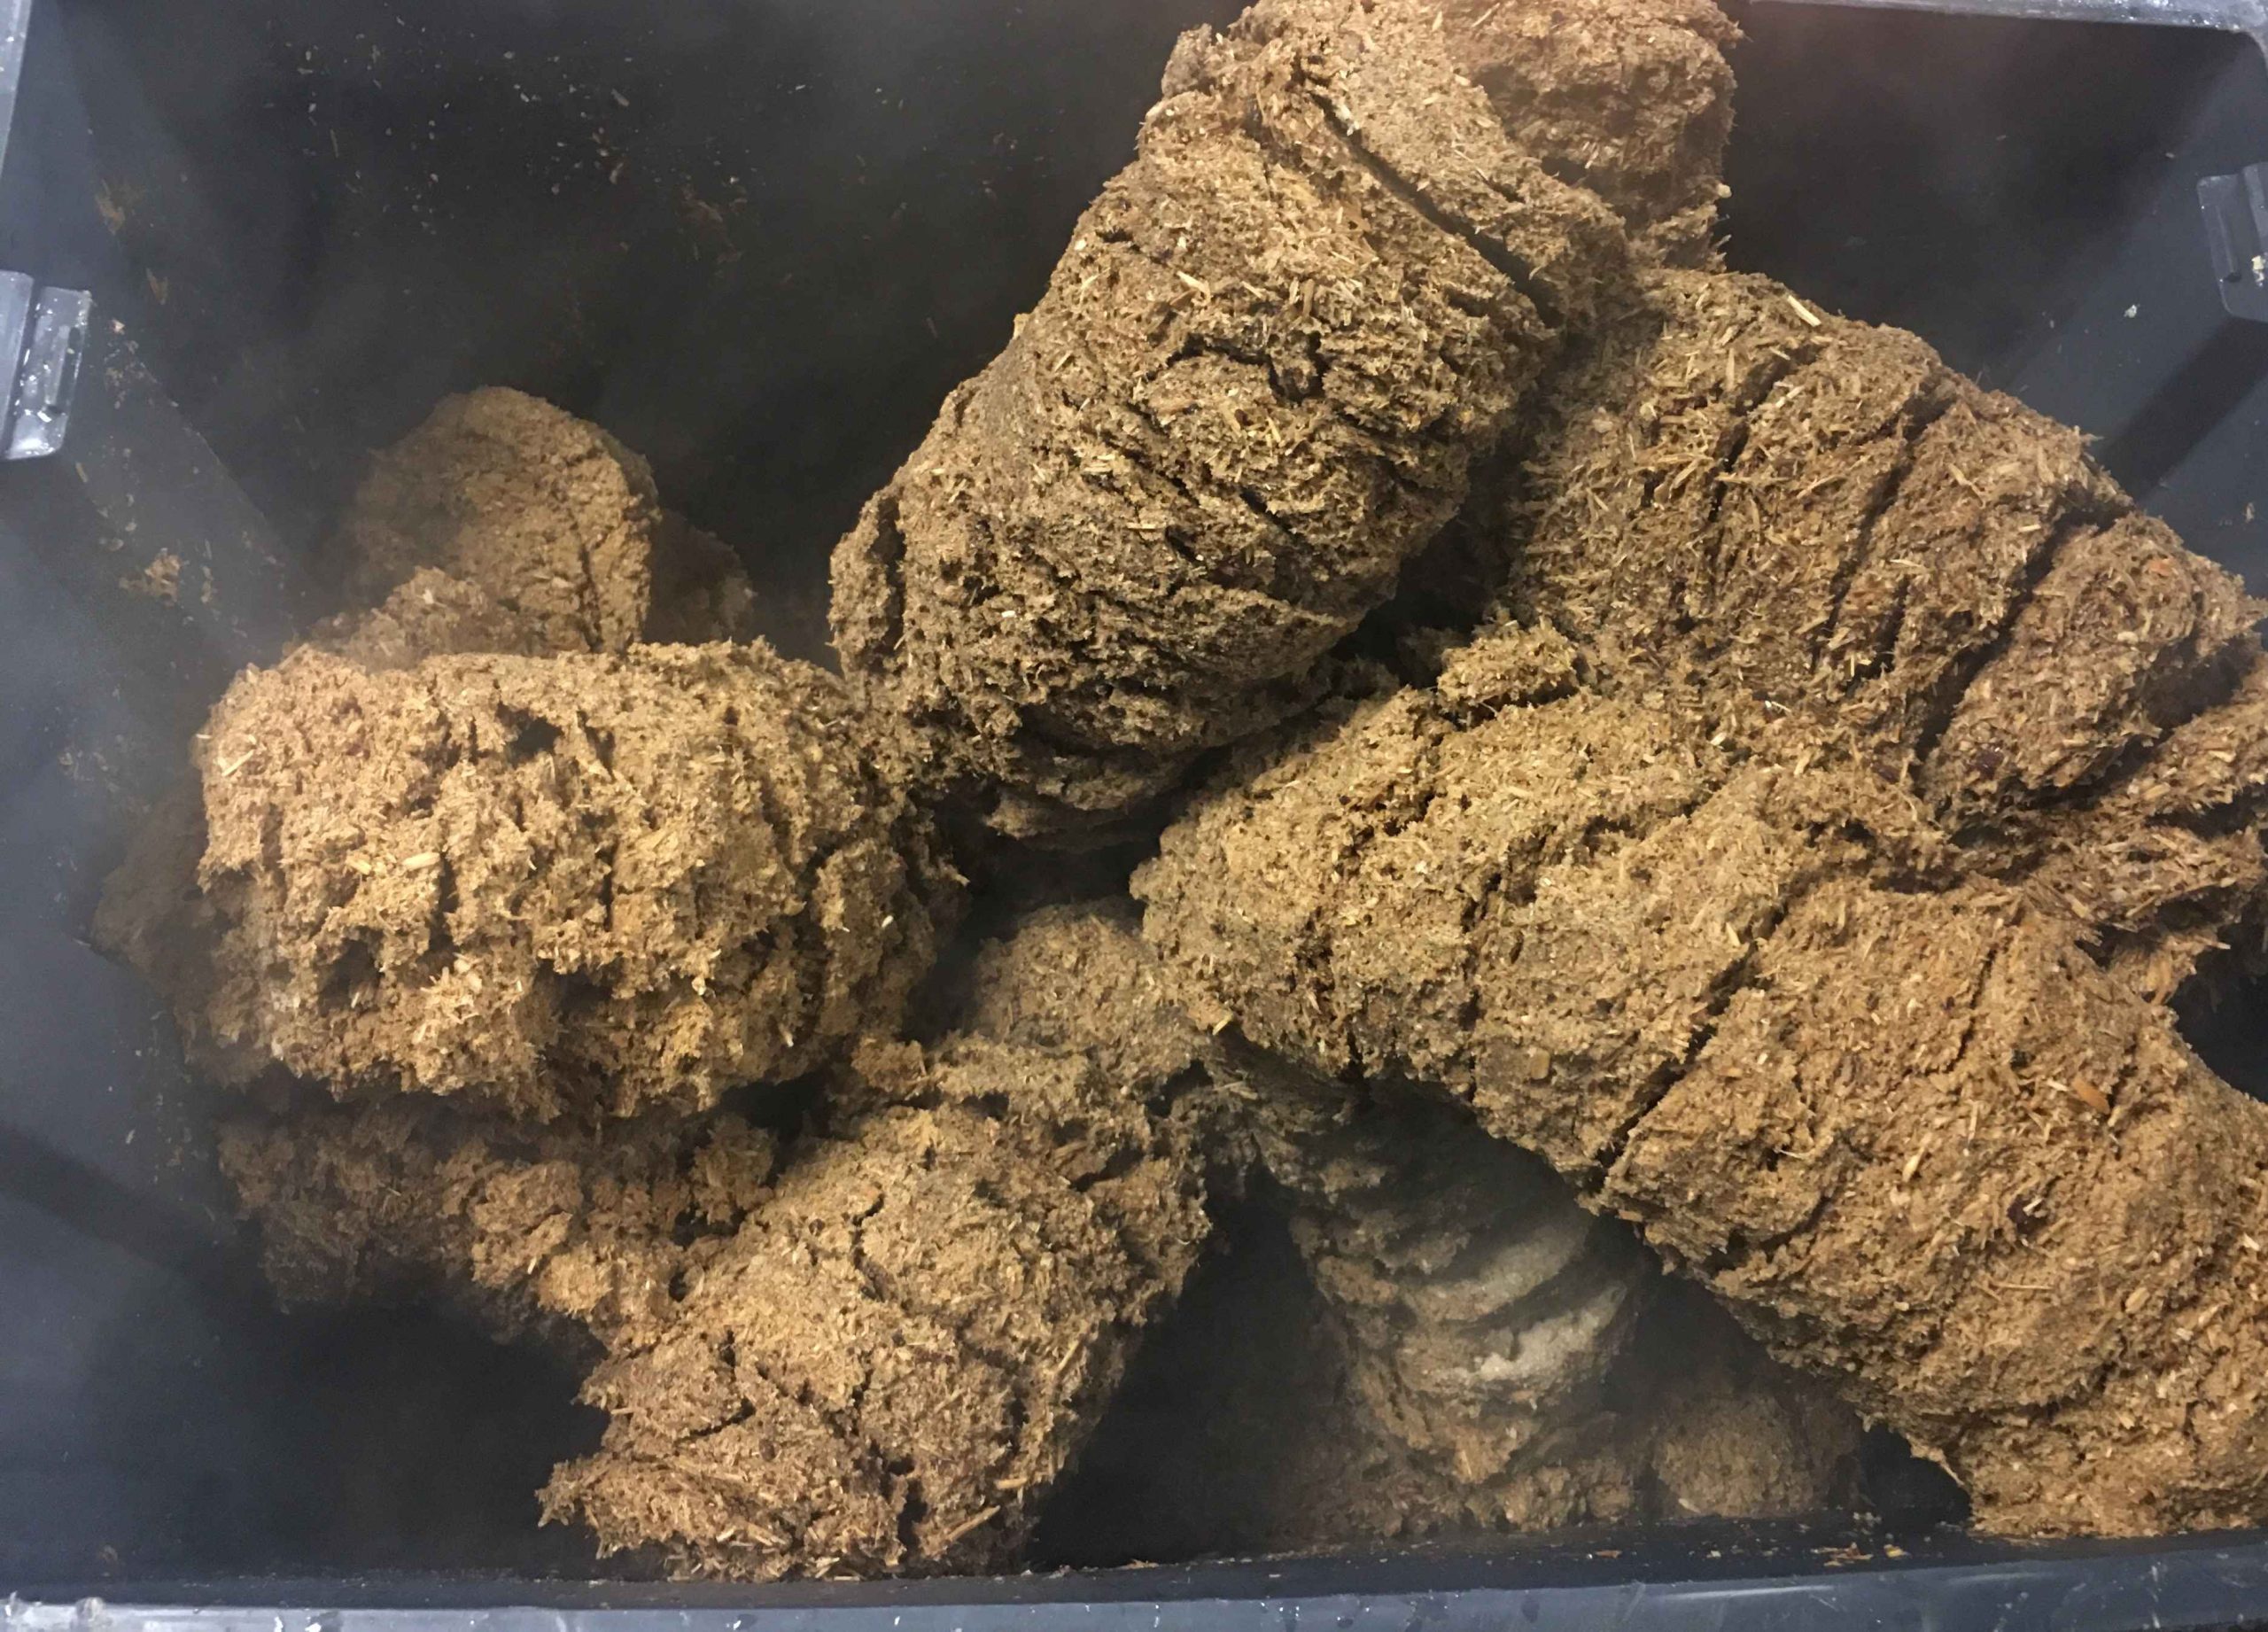
The cake will continue to flush until the mycelium has exhausted the food supply or contamination sets in. At this point please discard the used cake but keep the container and lid. You may simply refill the tub and sterilize yourself to re-use. This way you will help reduce your personal cost to the planet….
Mark and the Team.
Dry medicinal fruits at 70c in a dehydrator for 48hrs before storage.
Notes from the author:
You are looking after a life form that will rely only on you to provide everything it will
need to provide you with everything you need. Choose a space that is warm and comfortable, a place where you would like to be. A space that is quiet and protected. Your efforts will reward you with a feeling of self-sufficiency. Being able to grow your own food is a skill. A skill you will soon have.

Reviews
There are no reviews yet.